


 Here is our little testing area for various camera lights and settings. While creating Phasm Light, we knew we had to fix some shortcomings of other lights and introduce some features to make our investigations easier and equipment case lighter. Whenever we make a new product, we have to compare it to what's already on the market - the lights we've been using for years. Throughout that process we took a lot of photos and felt this was a good place to share them - and maybe boast a bit. :)
All of the shots on this page were taken in total darkness with a Full Spectrum Camera on the same settings for the sake of comparing apples to apples.
Here are our results. Compare for yourself.
Control Area for Light and Camera Testing
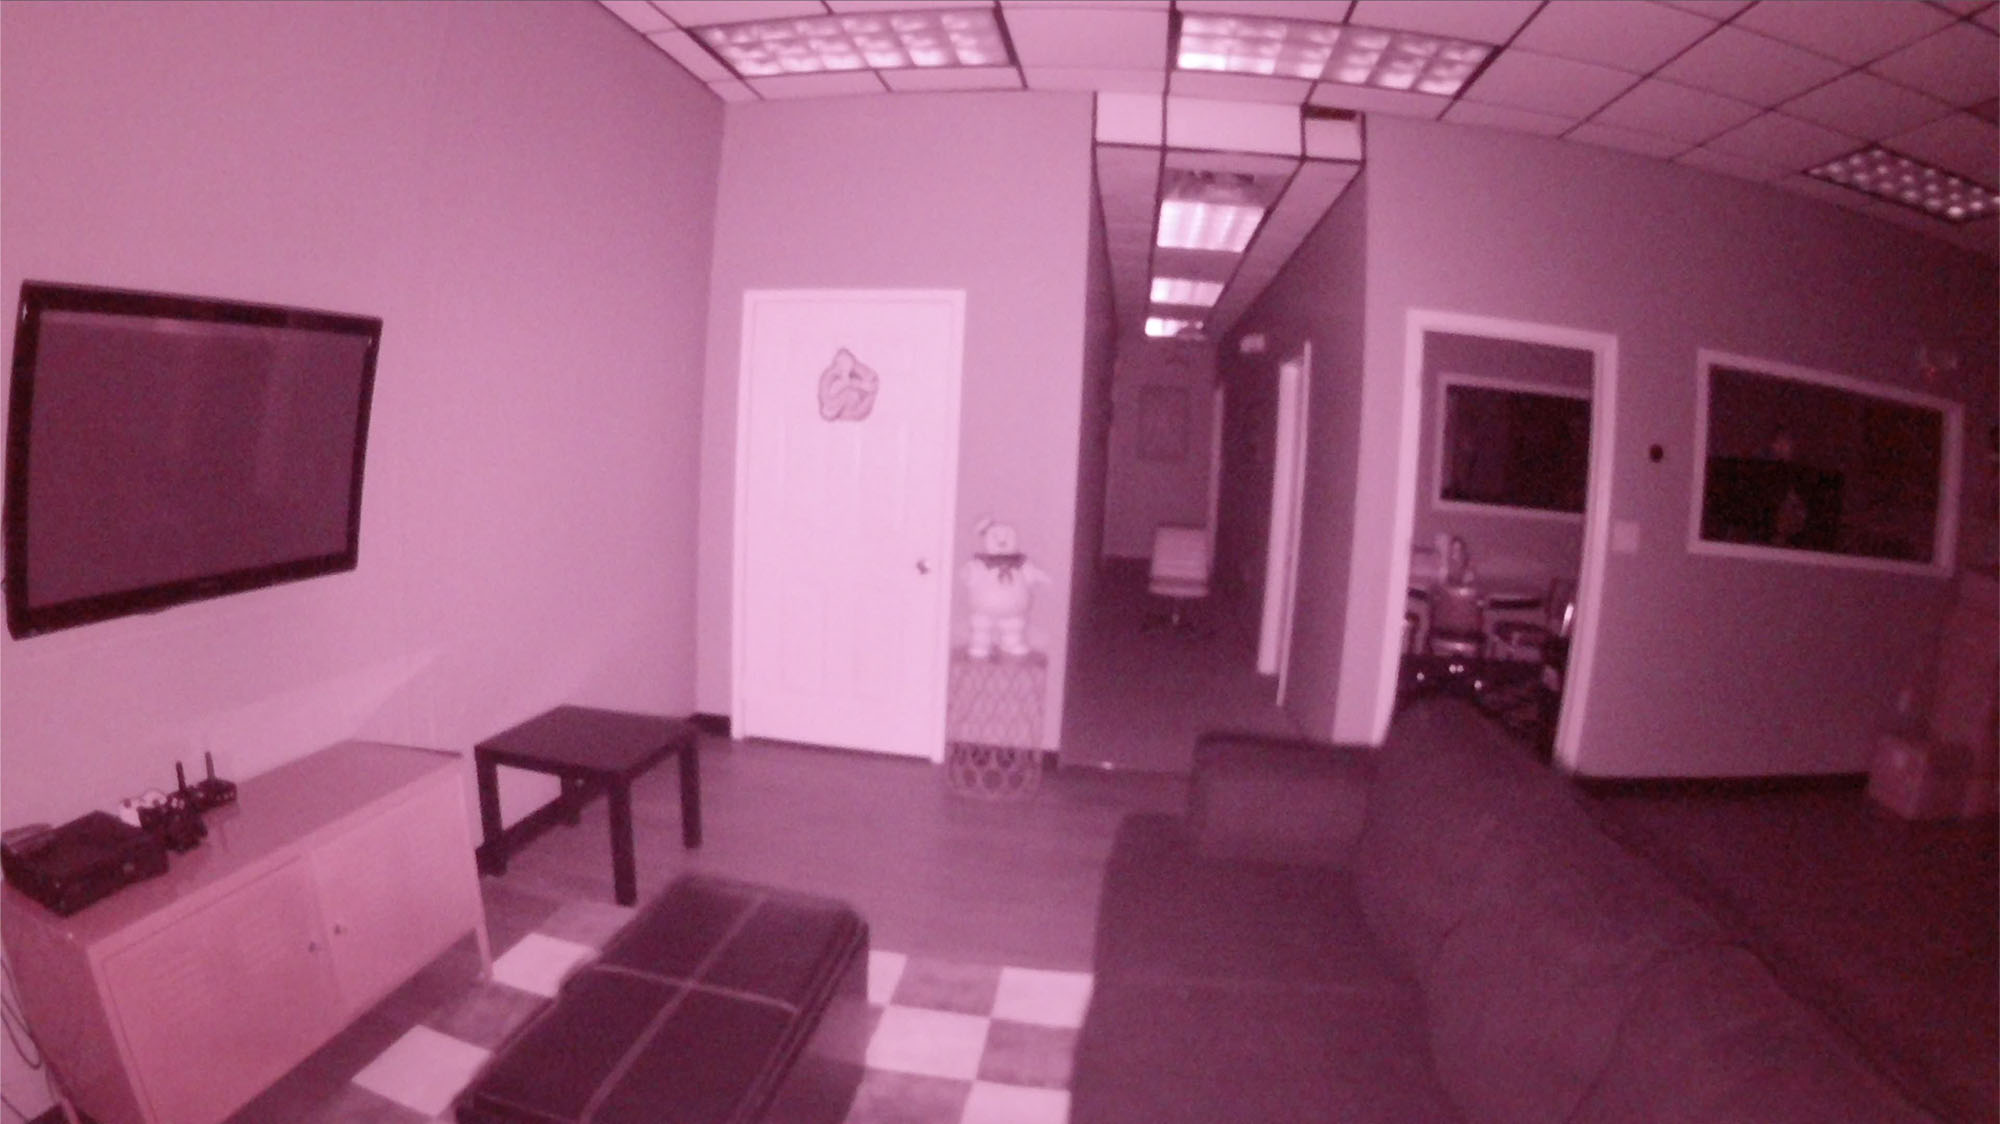
Here are some photos of our workshop area where we tested the following lights. All of the below shots were taken with the same angle on the same tripod. All shots were taken in total darkness except for the first one so you can see what that room looks like with lights on and gauge distance. You can also see the measurements below for distancing reference.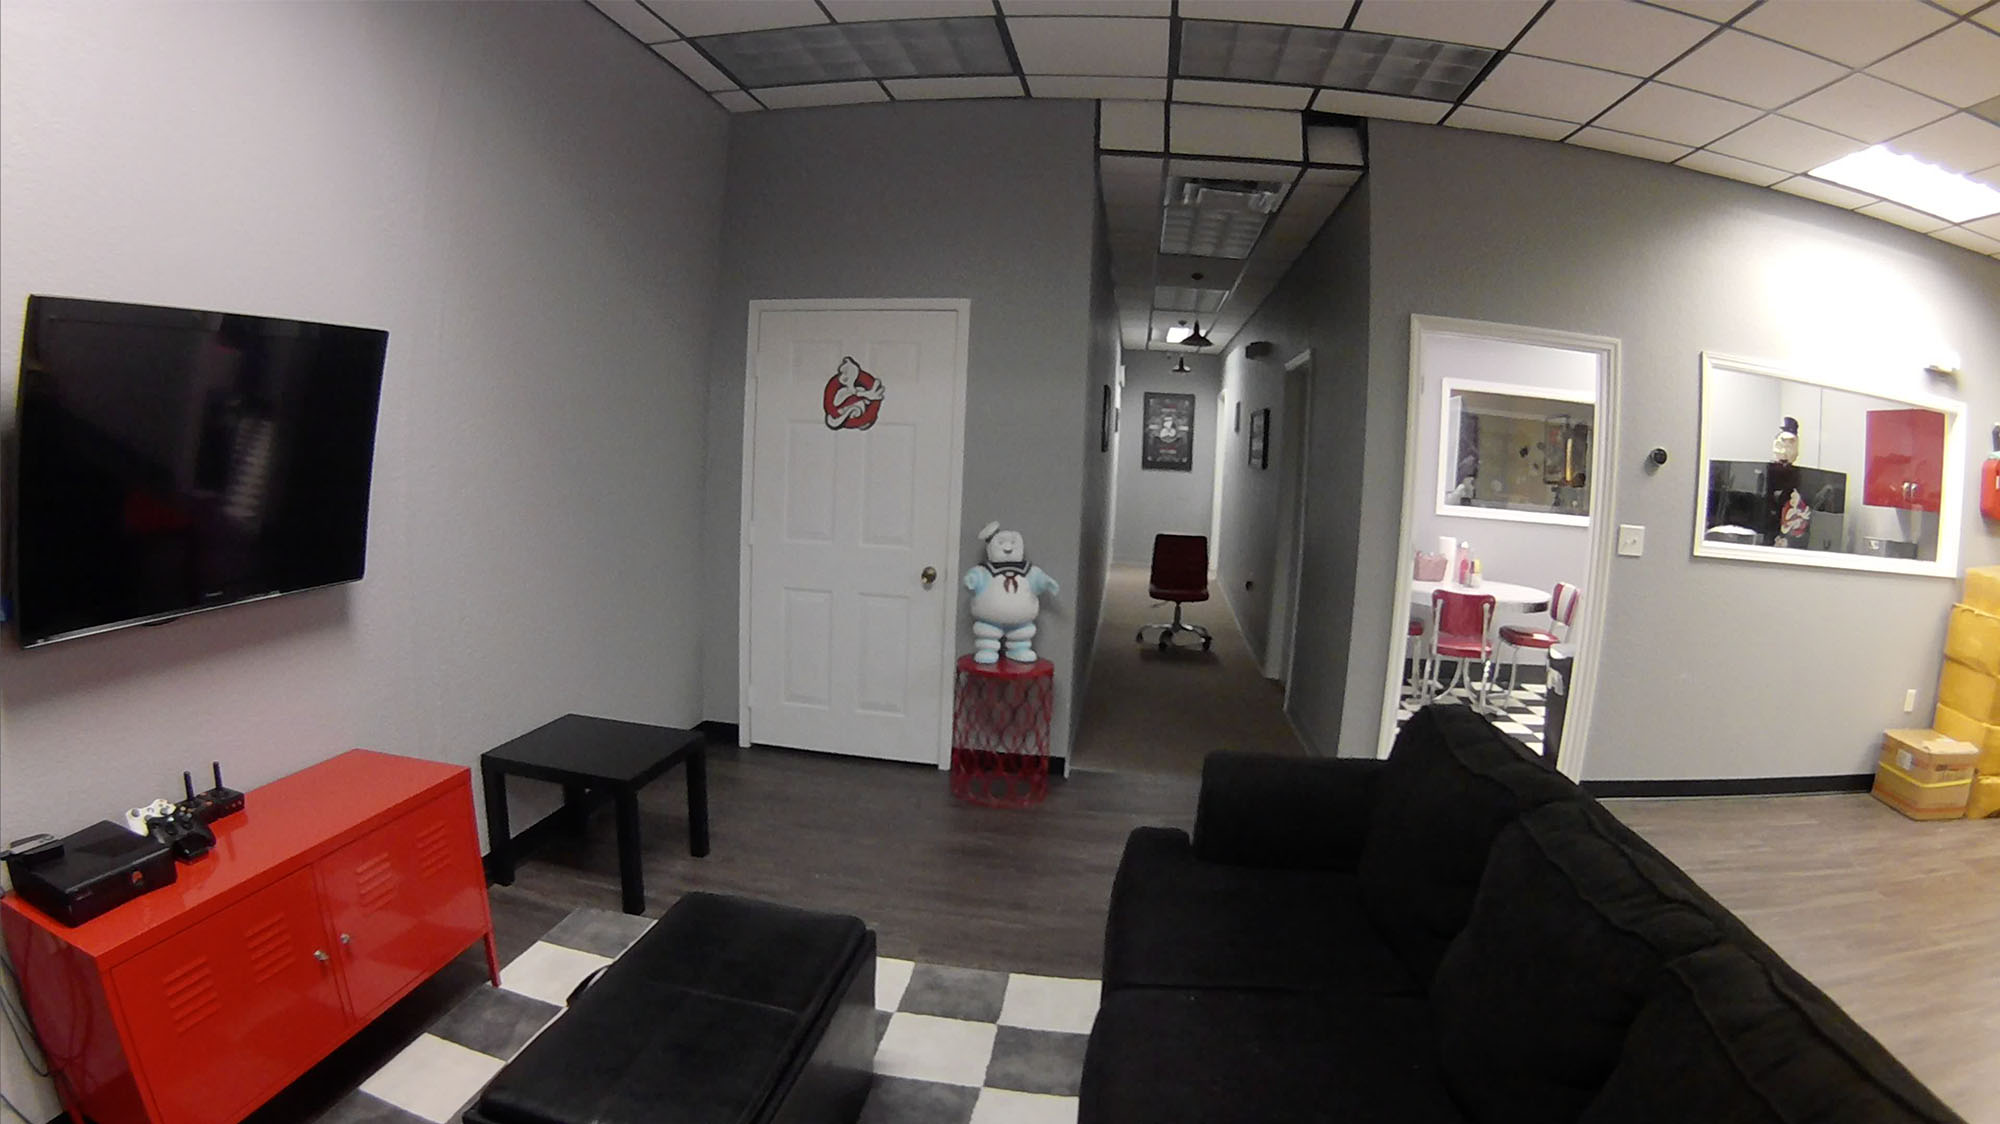 Here is our test area with lights on.
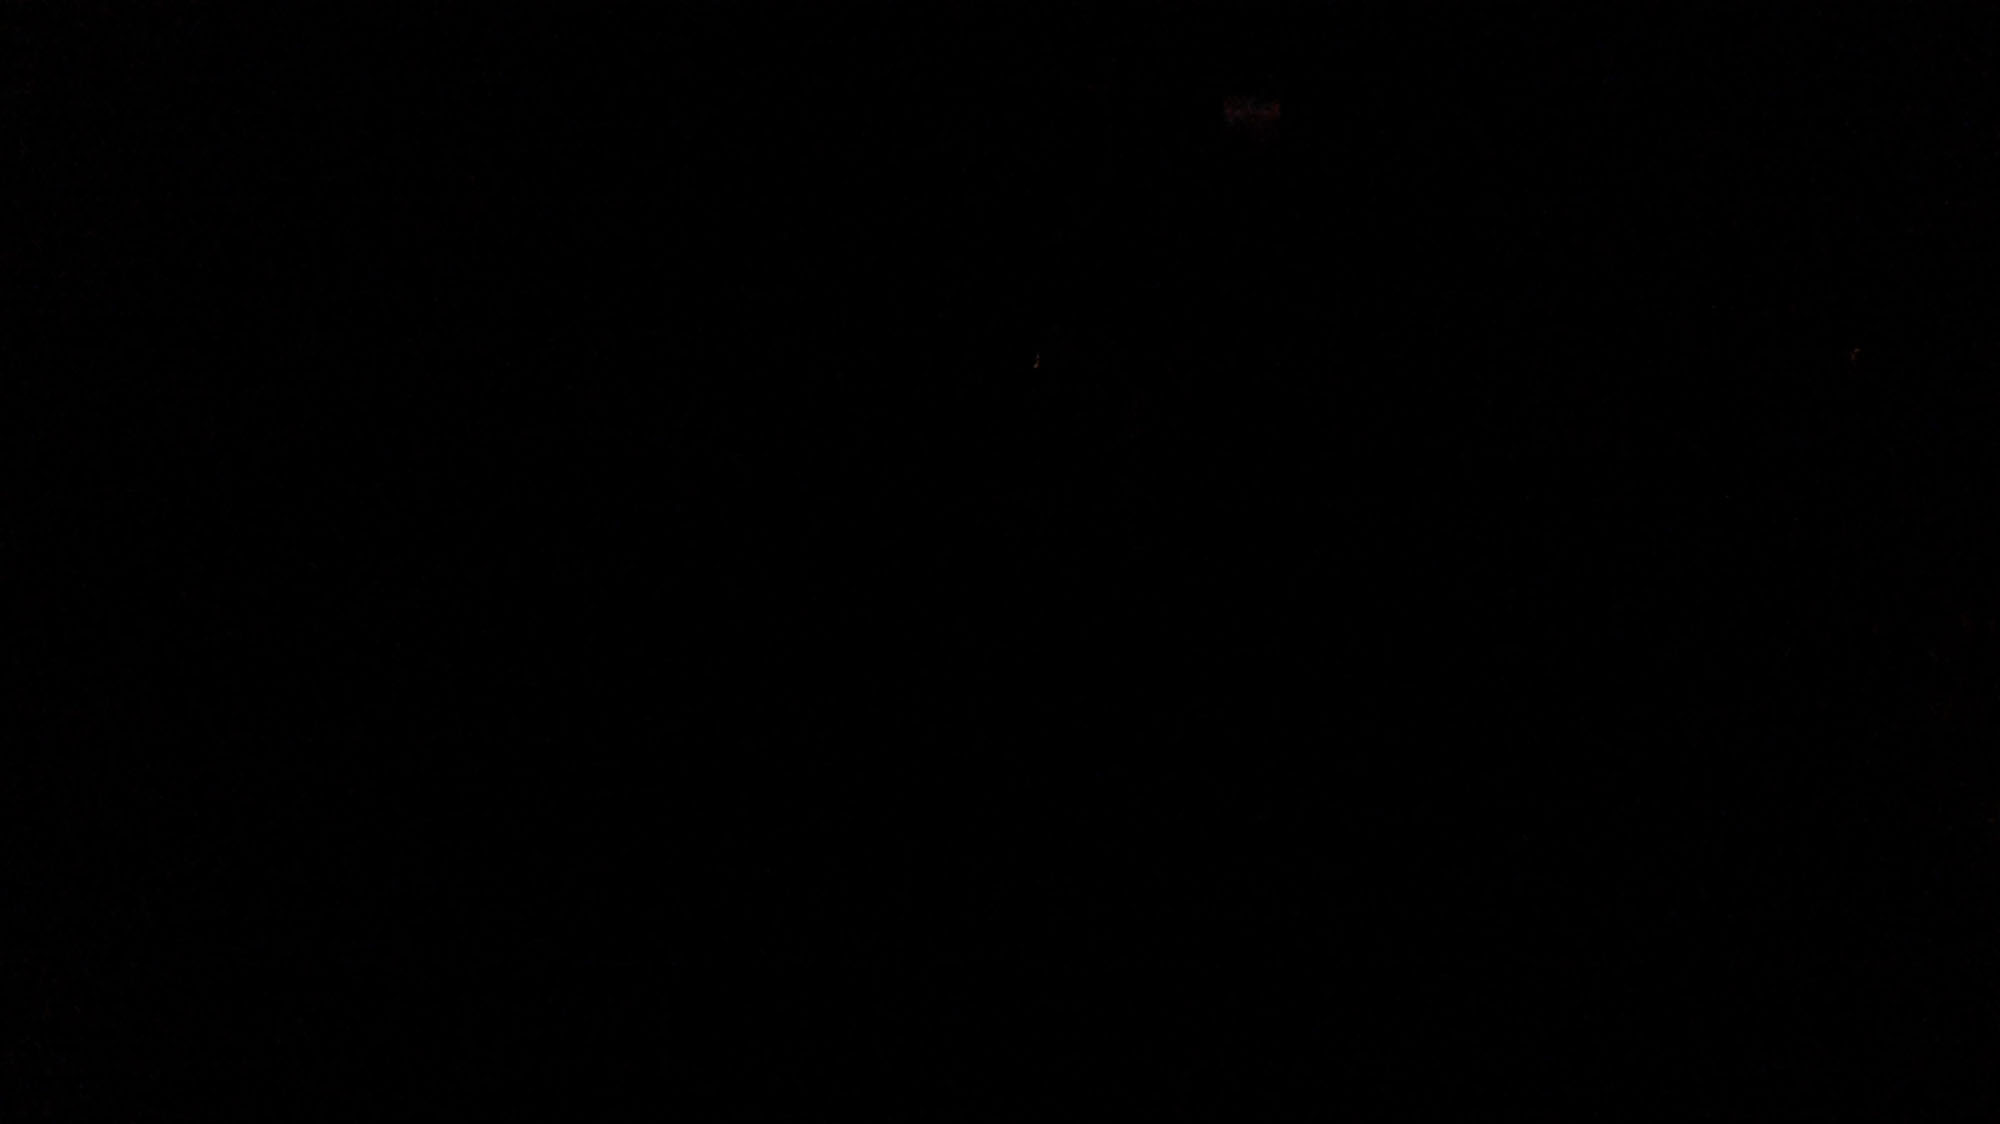 Here is the test area with lights out to demonstrate what it looks like before the addition of any camera lights. Yes, there's a photo here. :)
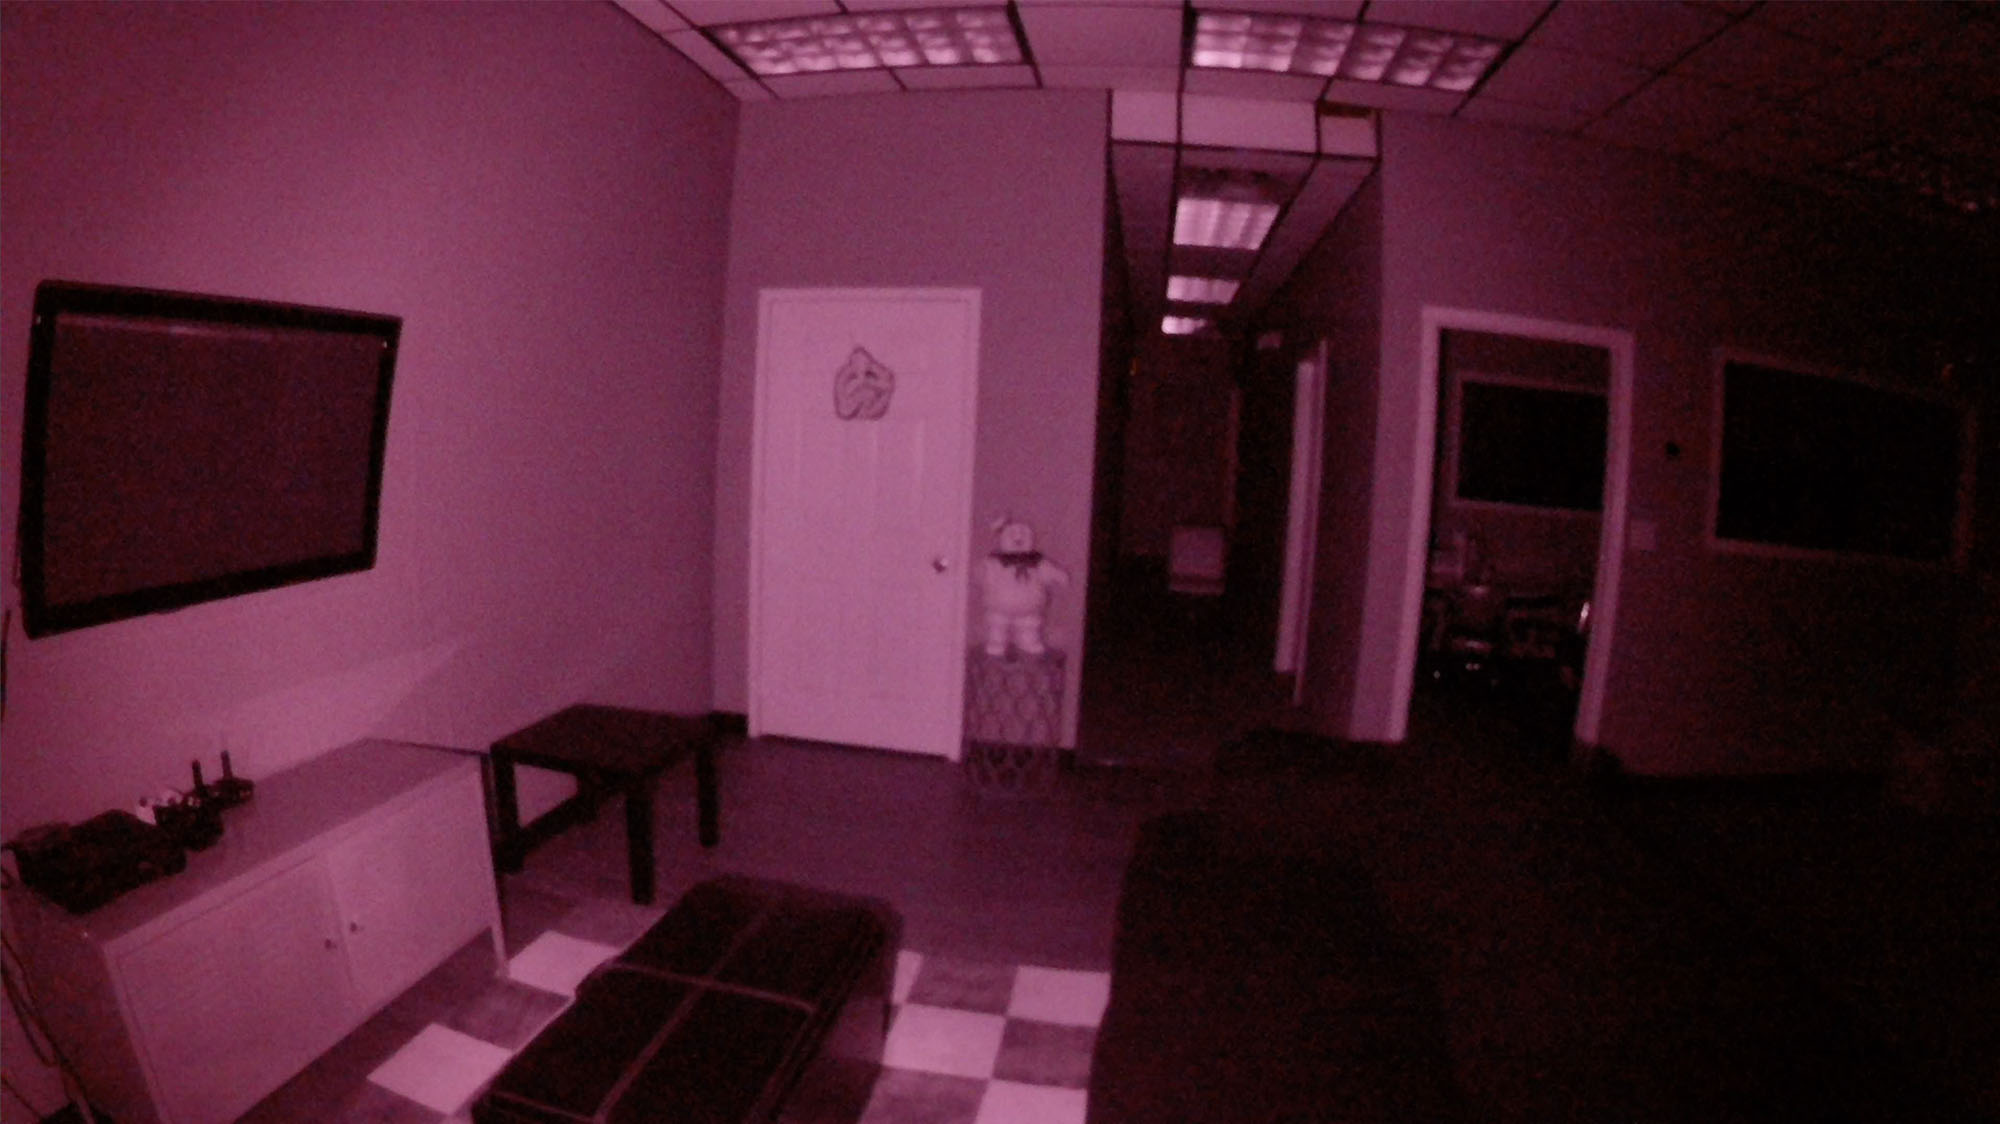
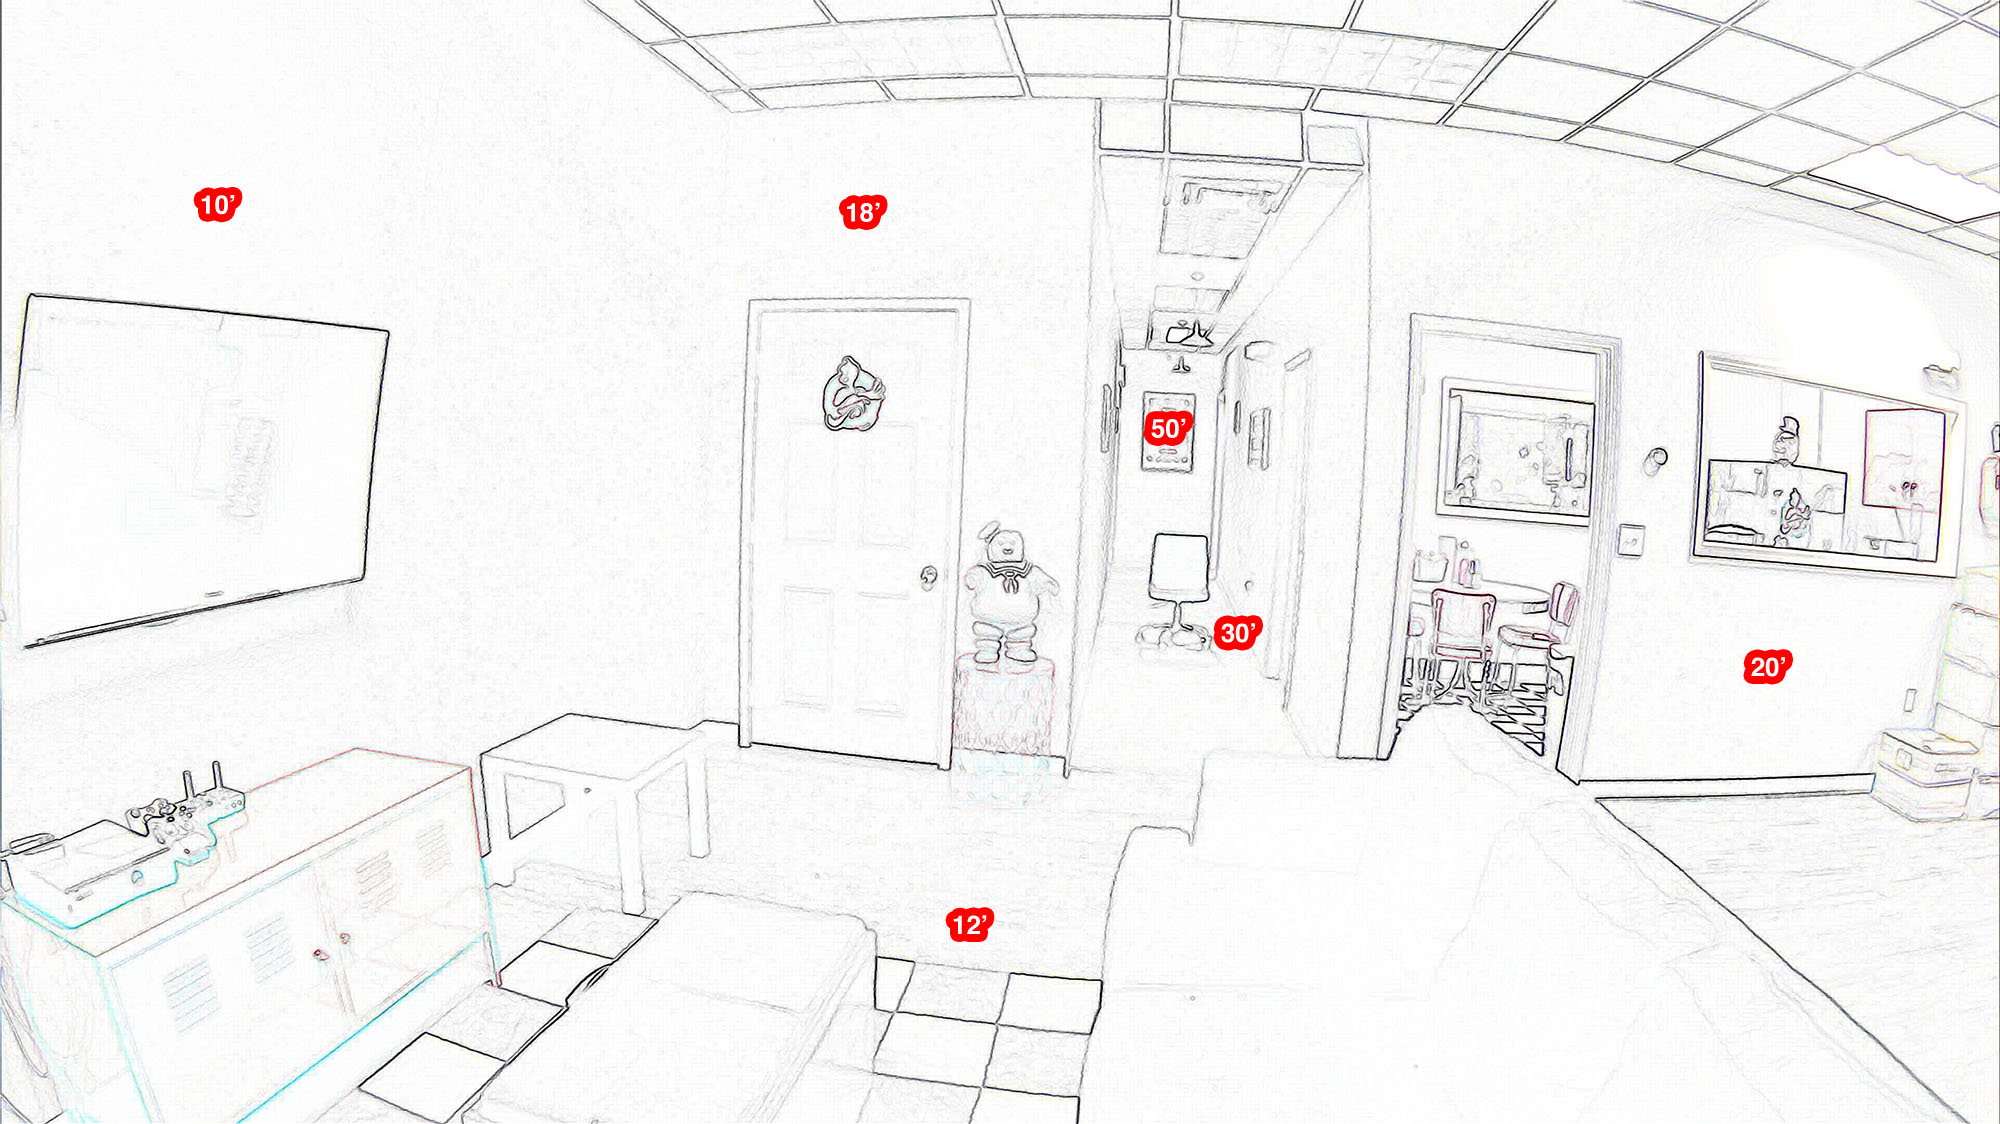 Here is the test area with measurements for distance reference.
Phasm Full Spectrum Light
Below are some sample shots using the Phasm Light with various settings offered by this multi-function full spectrum light. This light has a unique ability to utilize infrared, ultraviolet, multiple choices of color and adjust each independently. All of these shots were taken in total darkness with only Phasm light in use with the Full Spectrum POV Cam exposure set at +2. More info on the Phasm Light
 Full Spectrum: Infrared (IR), Ultraviolet (UV) and Color (W) at 100%
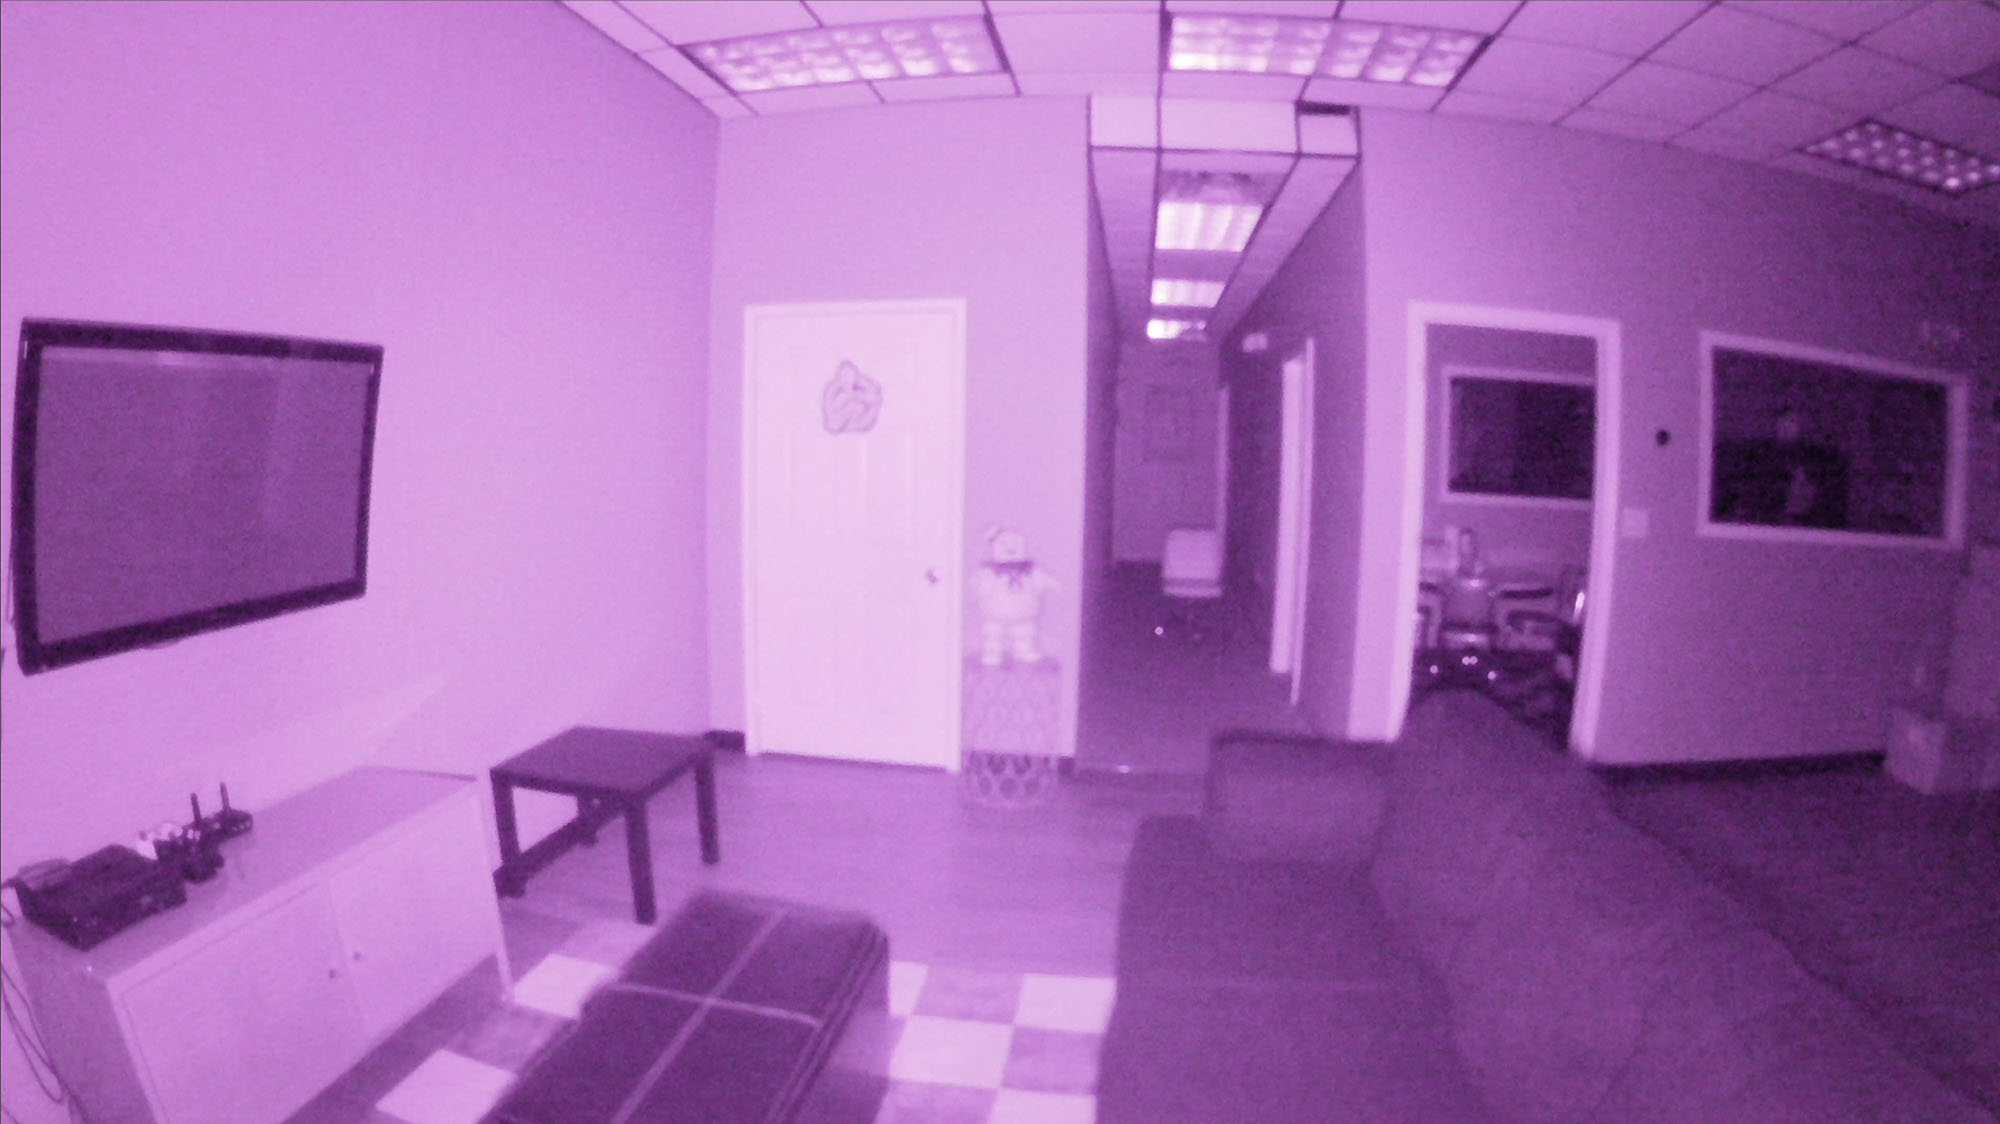 Infrared (IR) at 100%
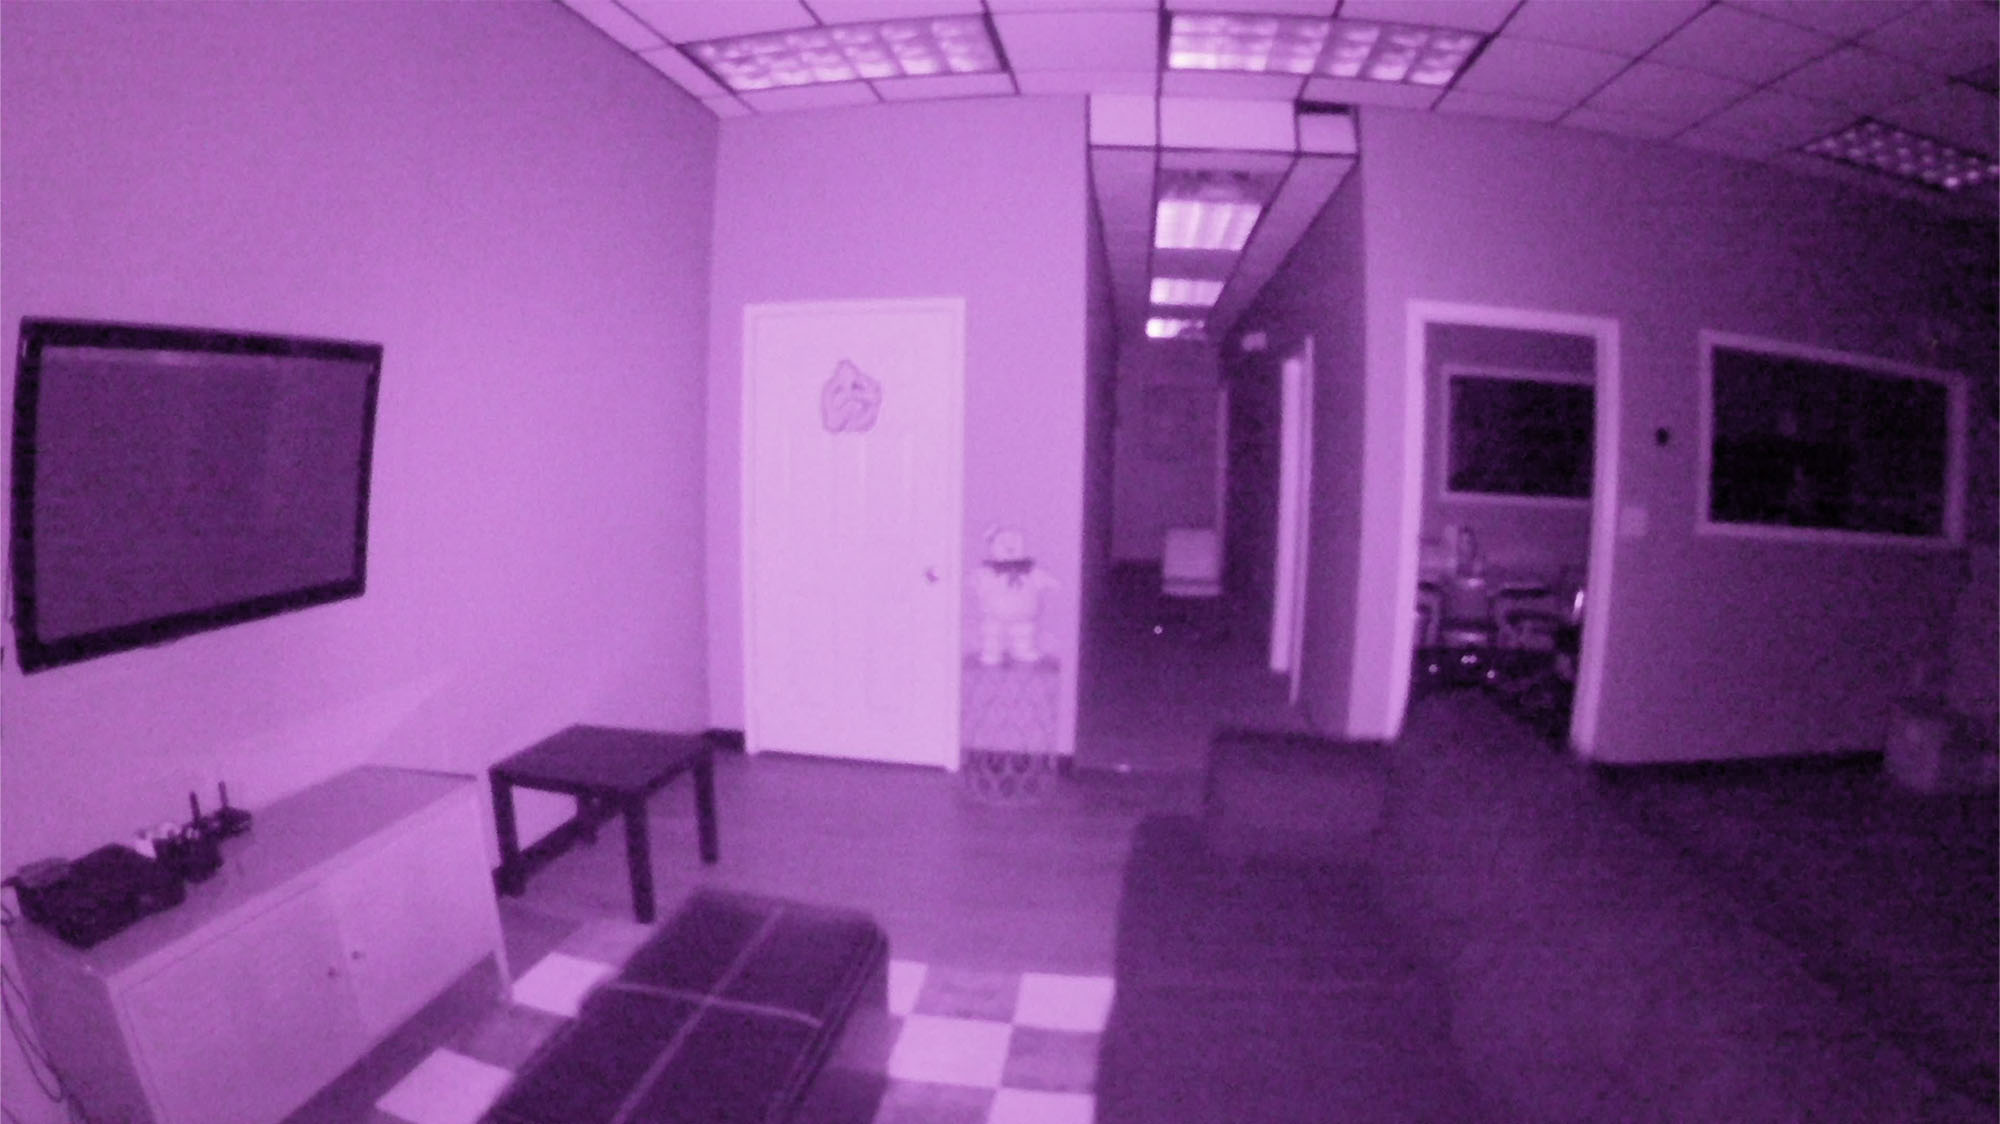 Infrared (IR) at 80%
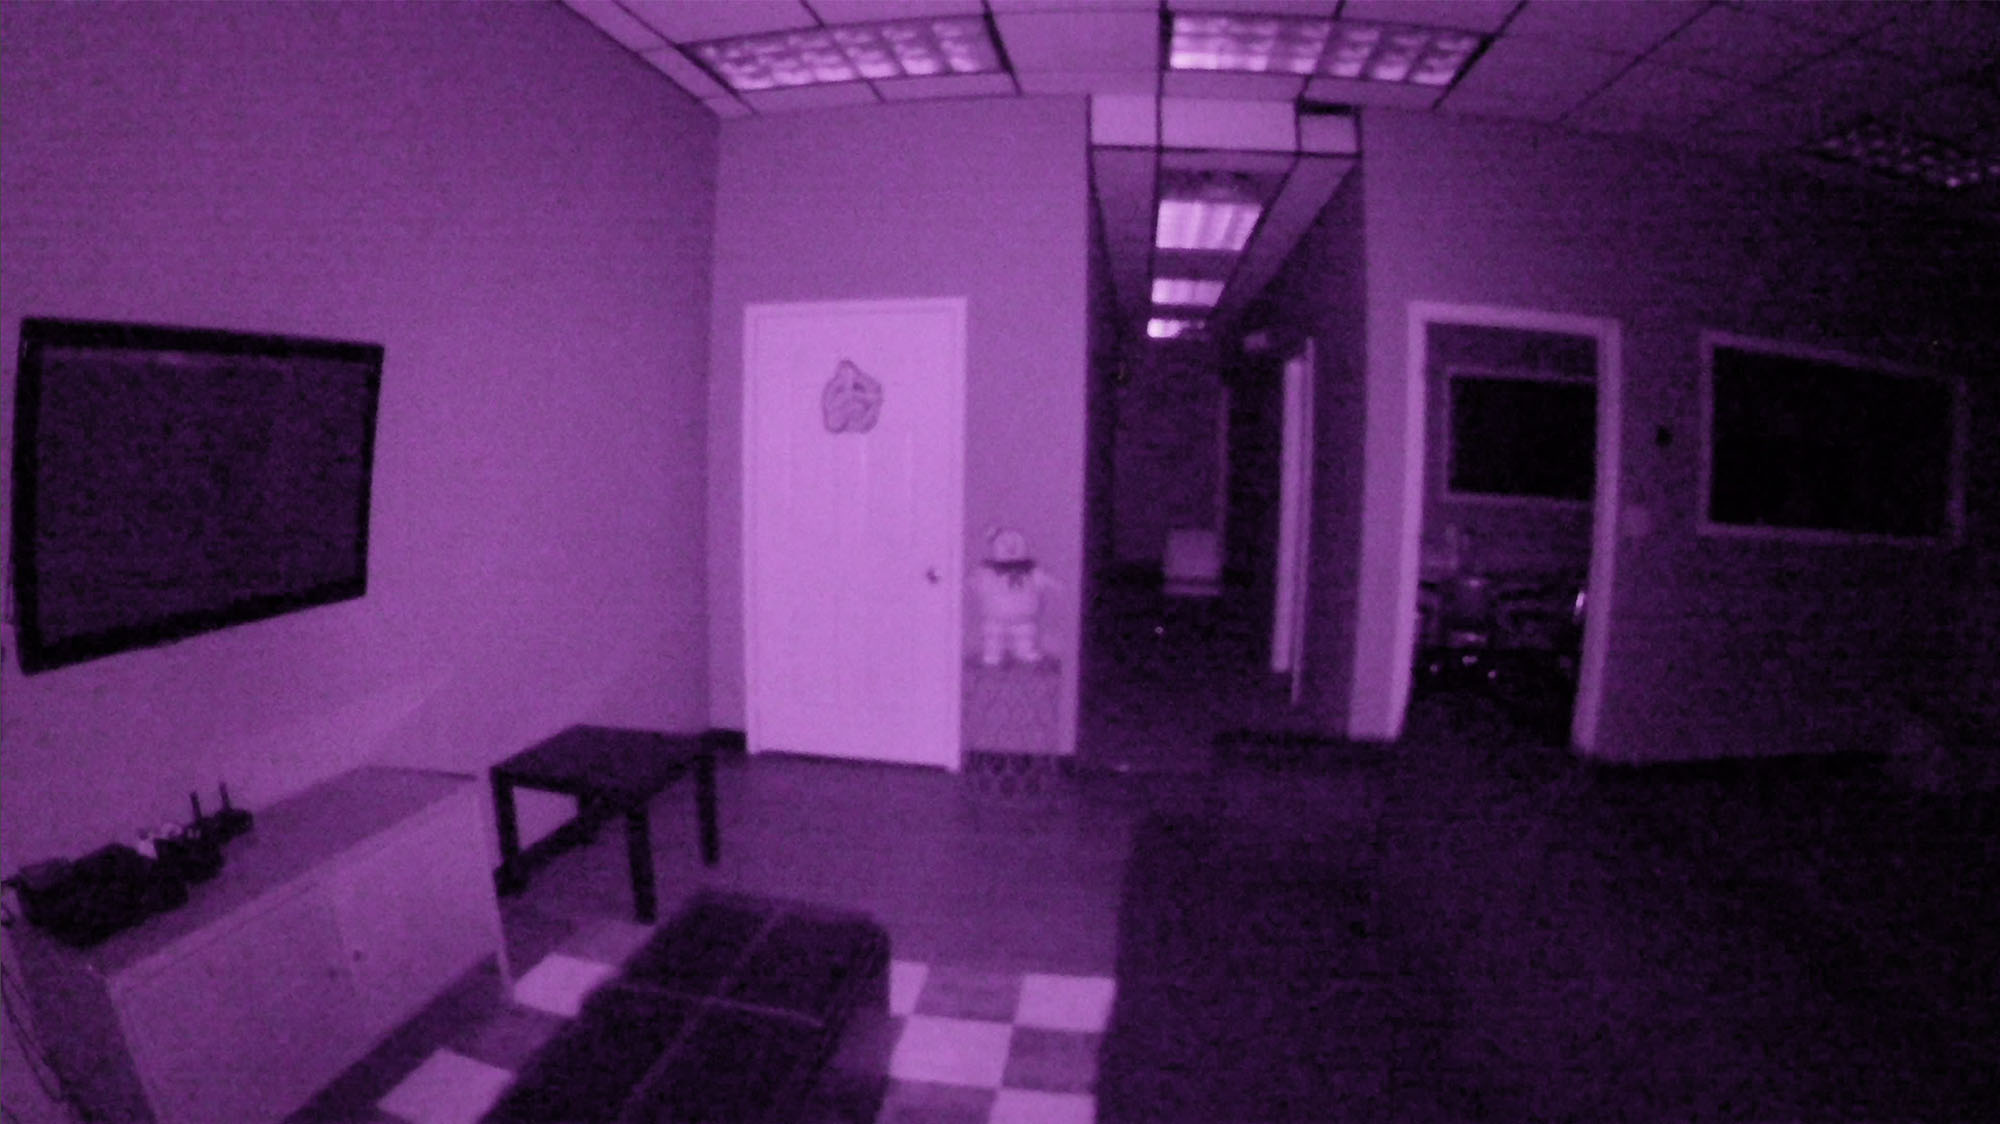 Infrared (IR) at 50%
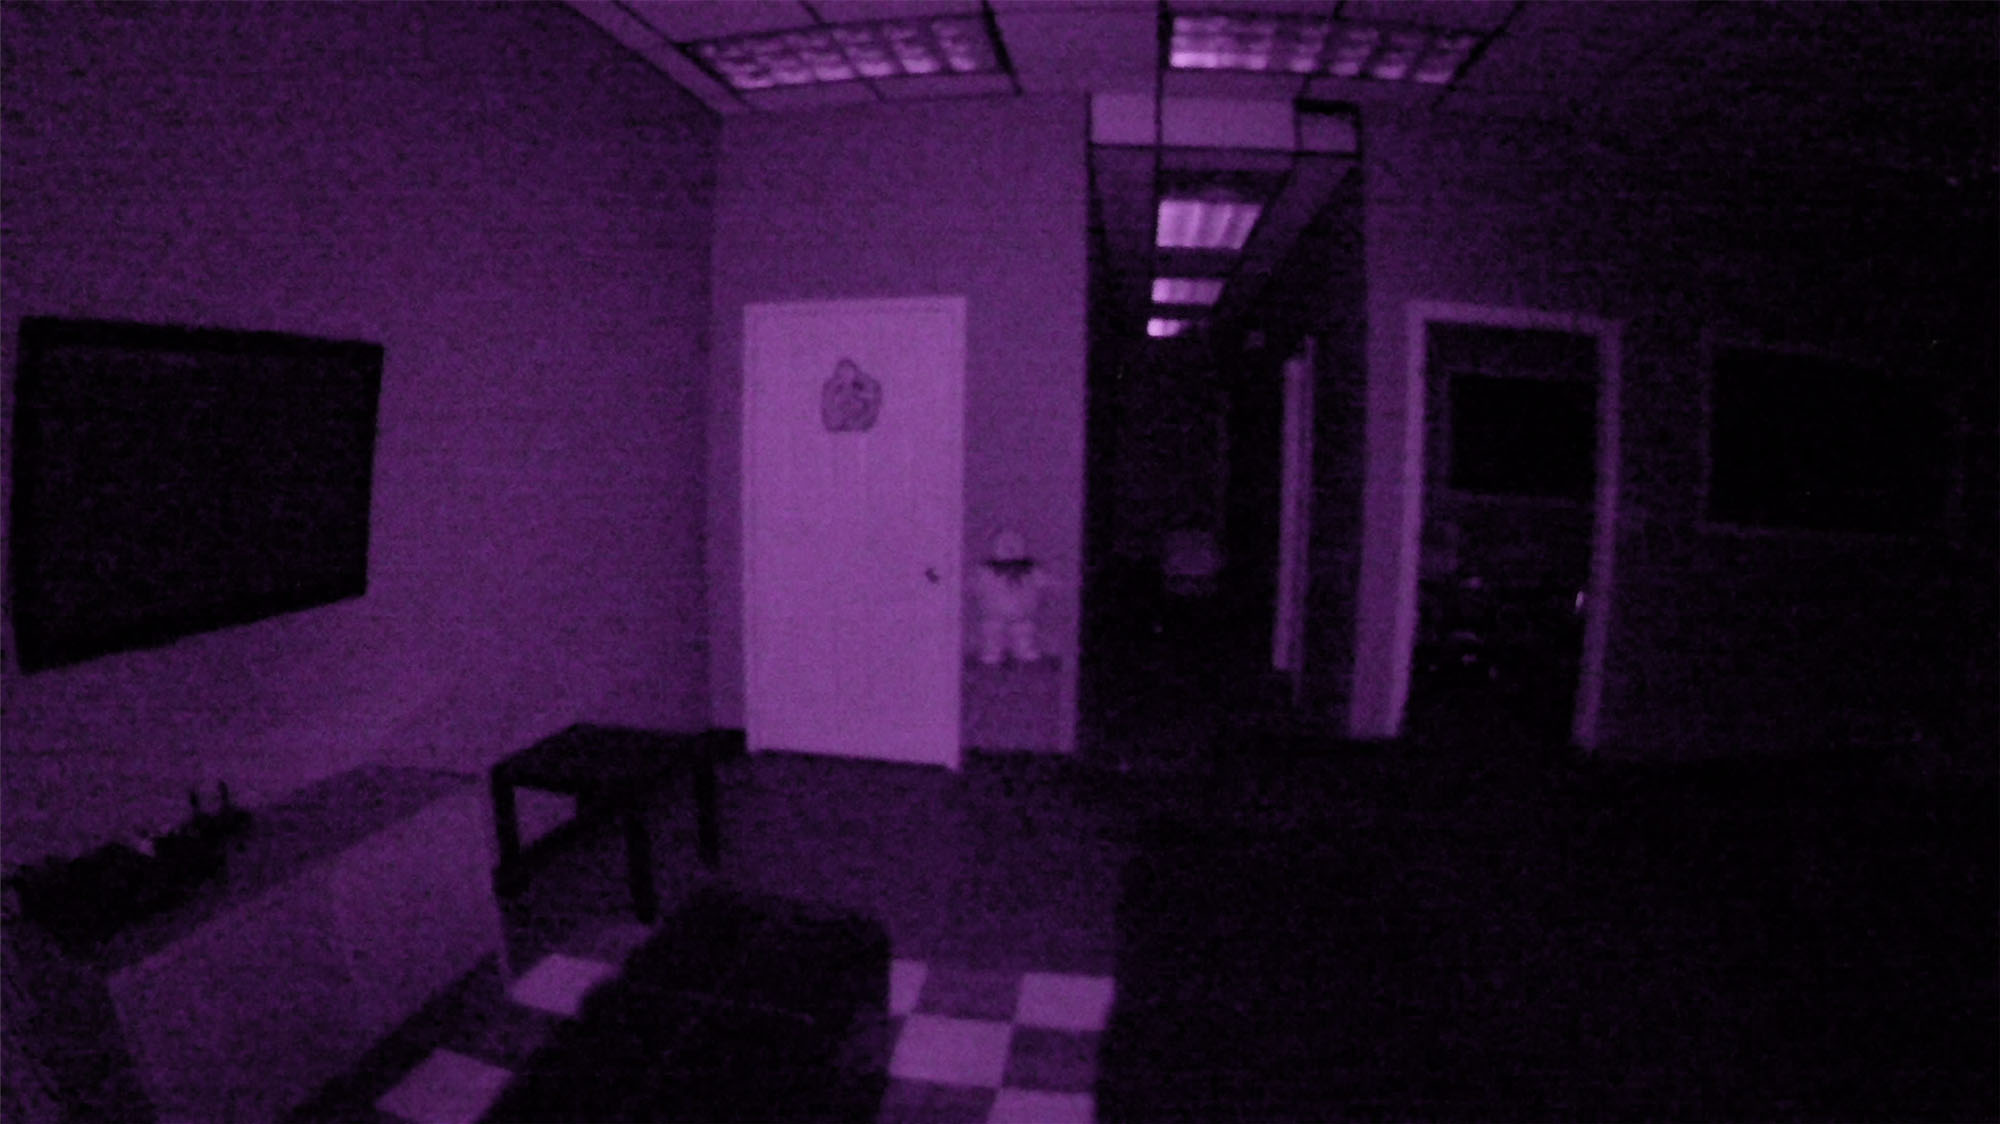 Infrared (IR) at 20%
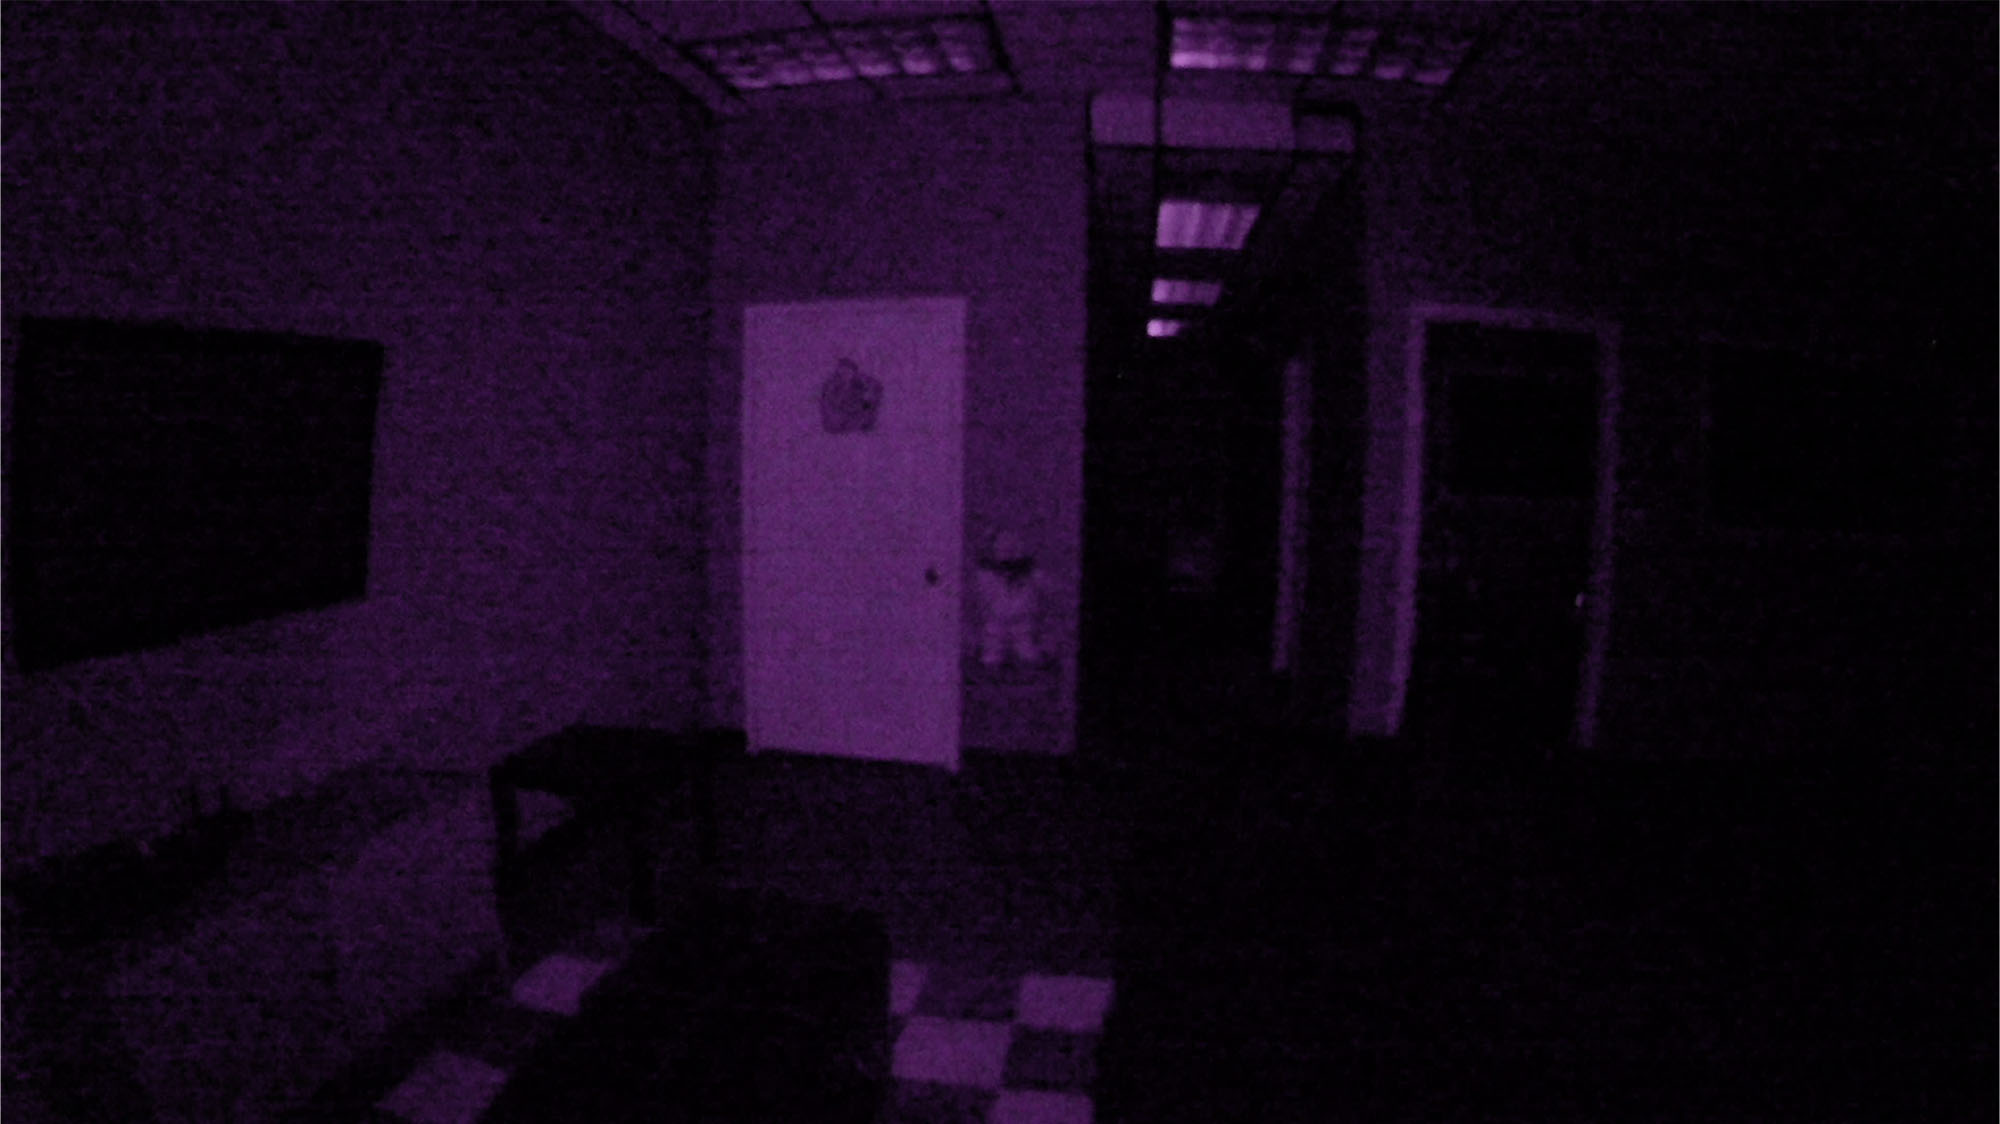 Infrared (IR) at 5%
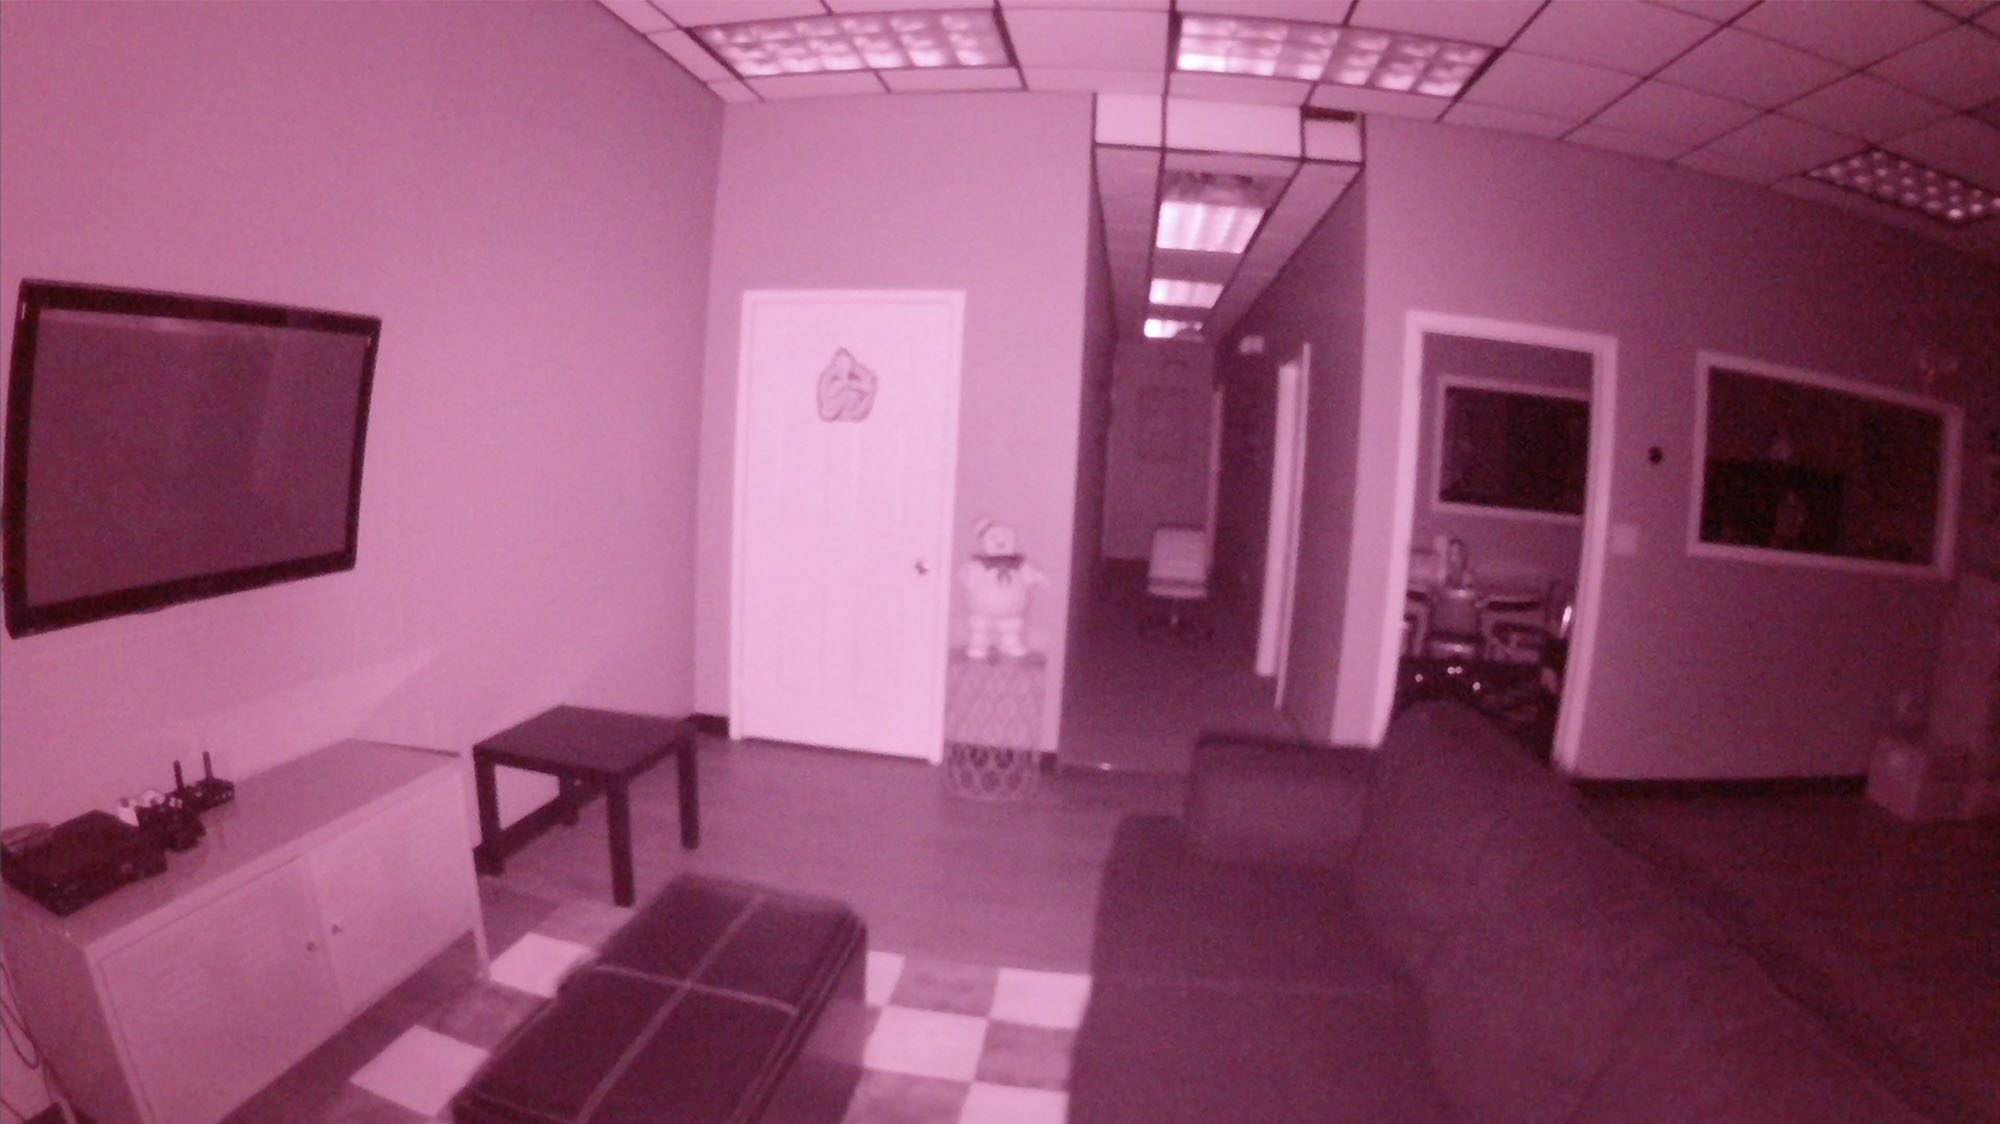 Infrared (IR) + Ultraviolet (UV) at 100%
 Infrared (IR) at 100% with 1 Extender Light
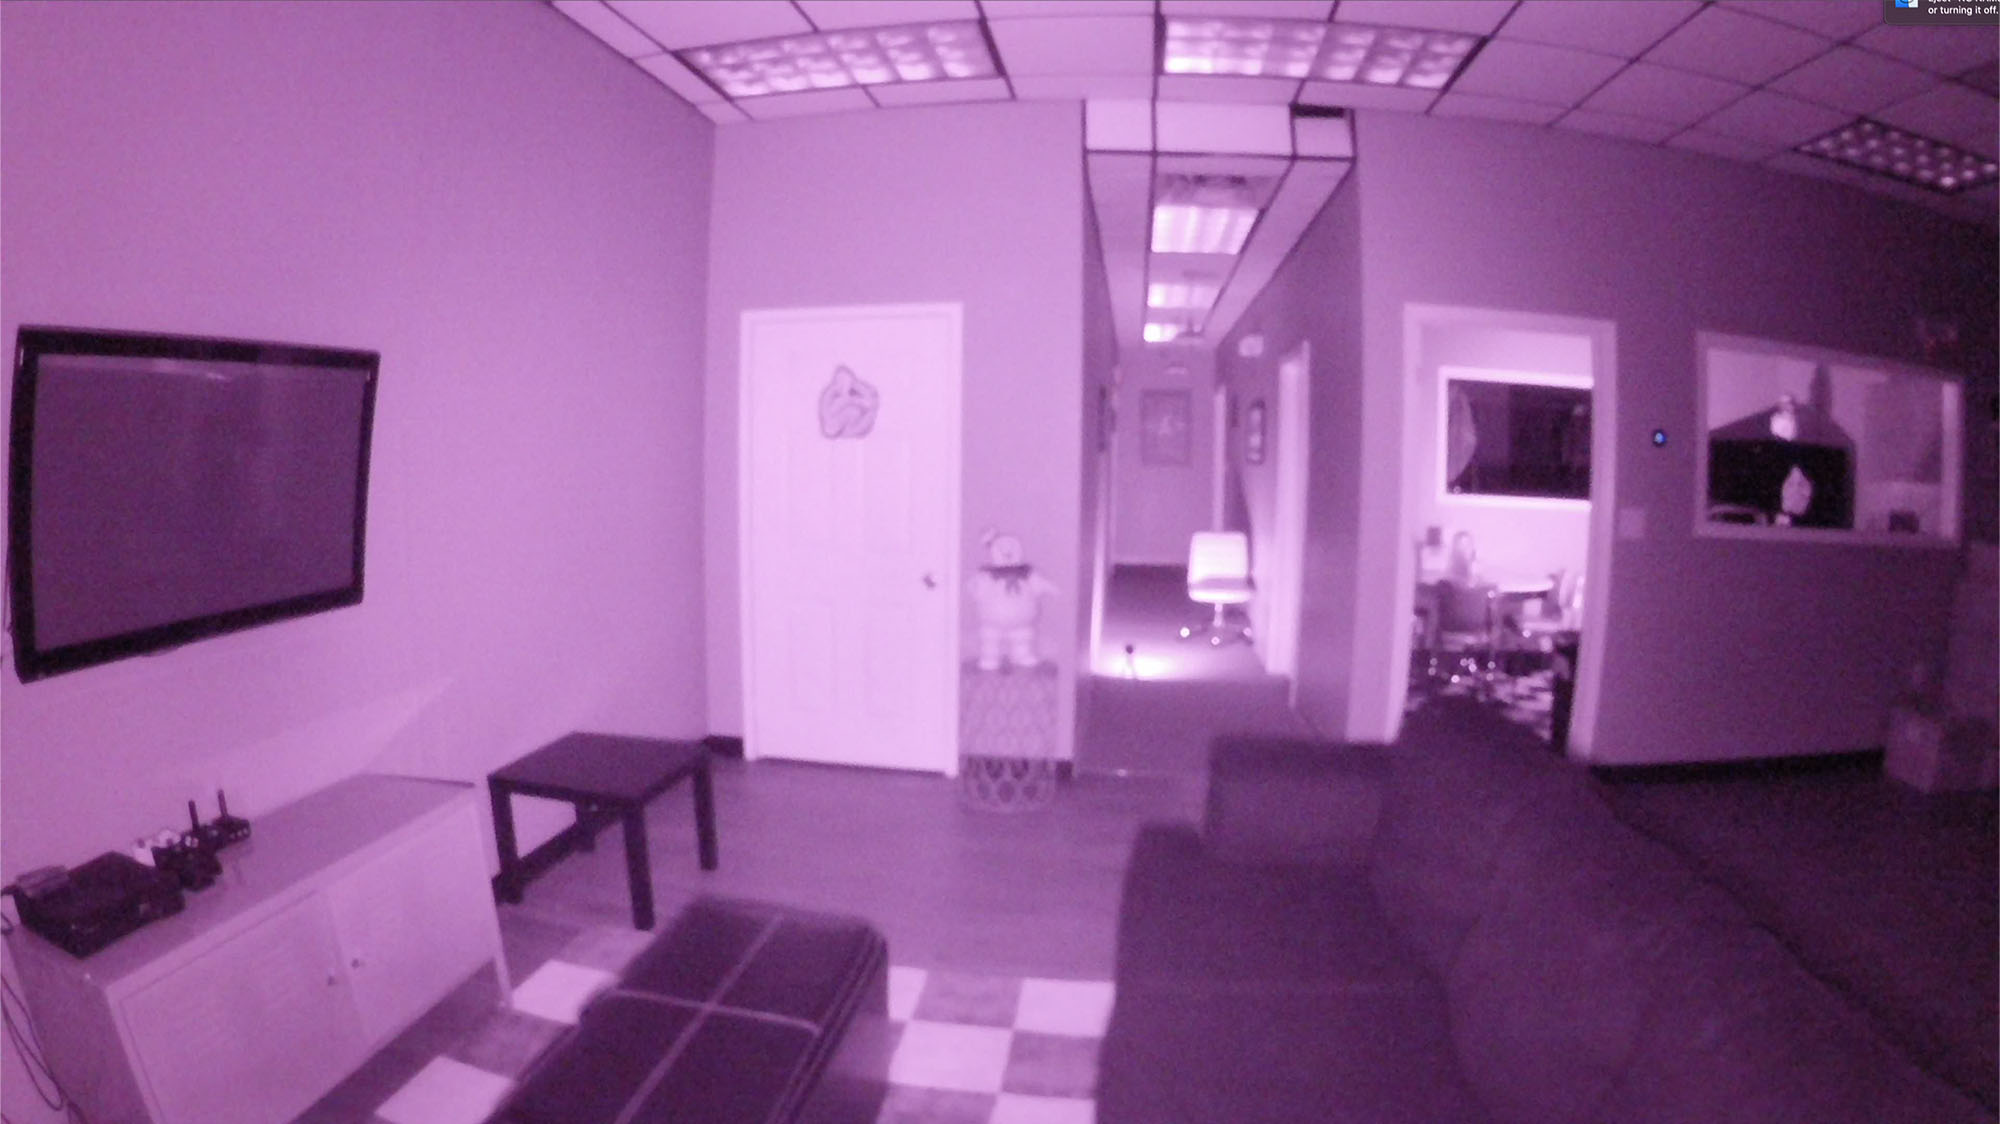 Infrared (IR) at 100% with 1 Extender Lights
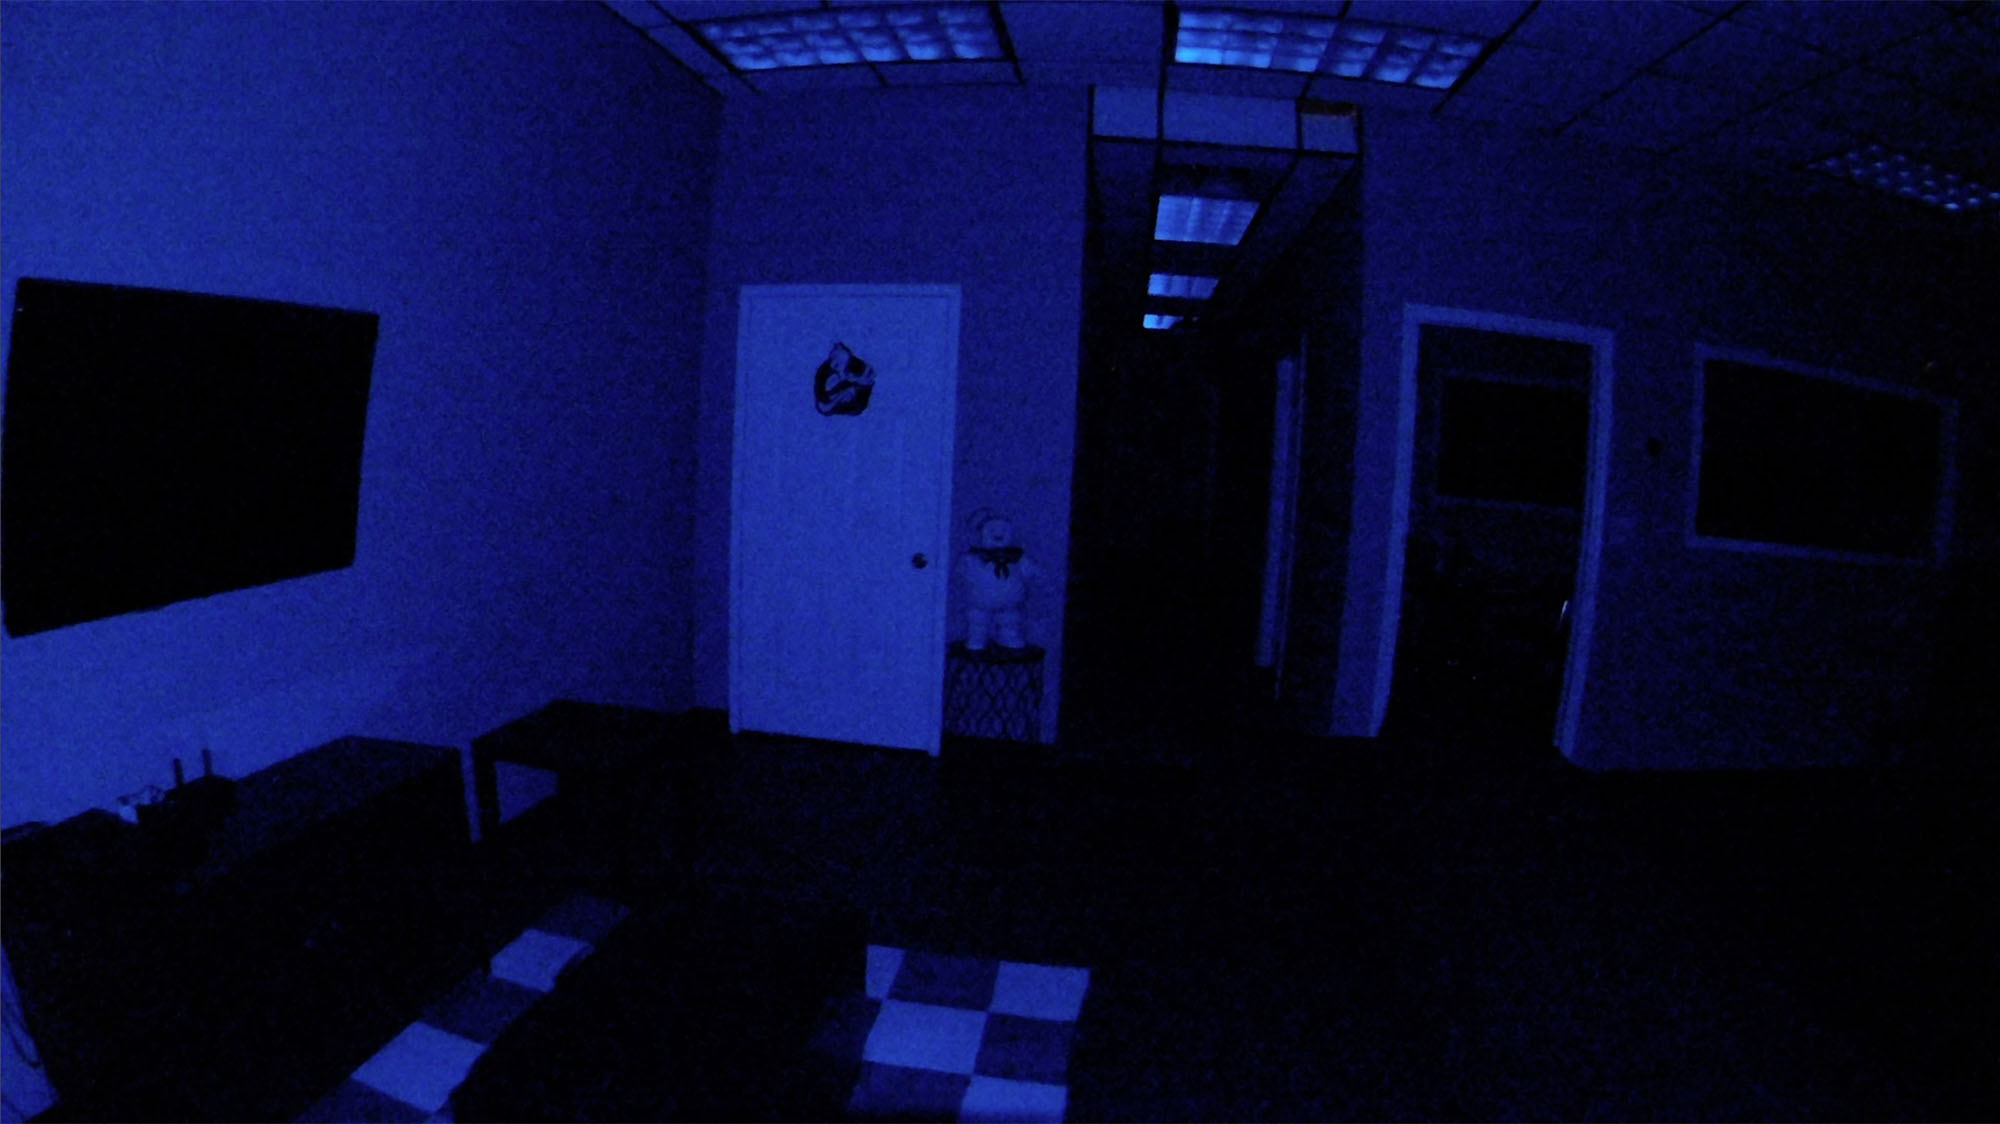 Color (Blue) at 100%
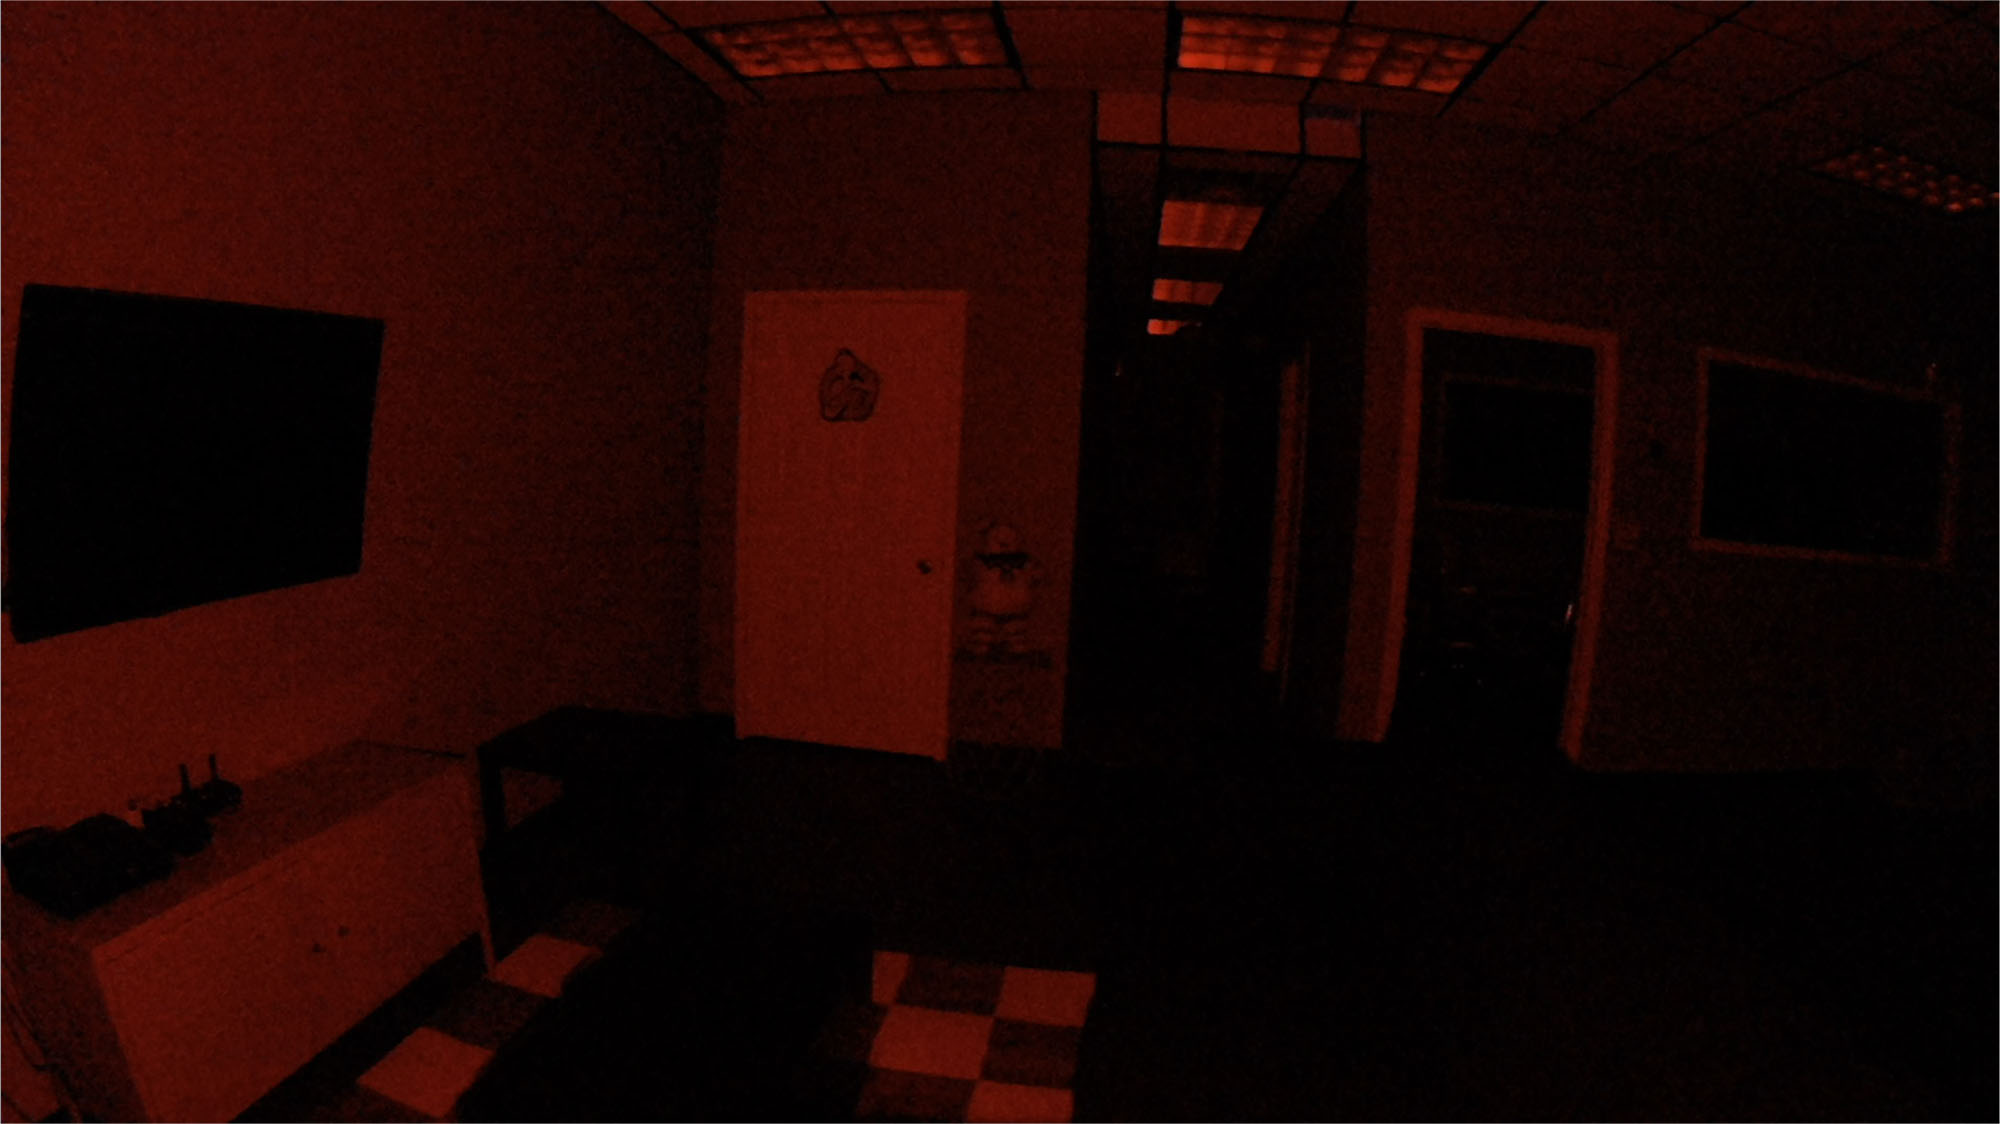 Color (Red) at 100%
Creepy Hollow Lights
Below are some sample shots using a few different Creepy Hollow Light models available each with their own capabilities. The line of Creepy Hollow lights include a dual-mode full spectrum light, Infrared light, wide-angle flood light and a compact infrared light. All of these shots were taken in total darkness with only the Creepy Hollow Light in use and the Full Spectrum POV Cam exposure set at +2. More info on Creepy Hollow Lights
 Creepy Hollow Wide-Angle Infrared Light (IR)
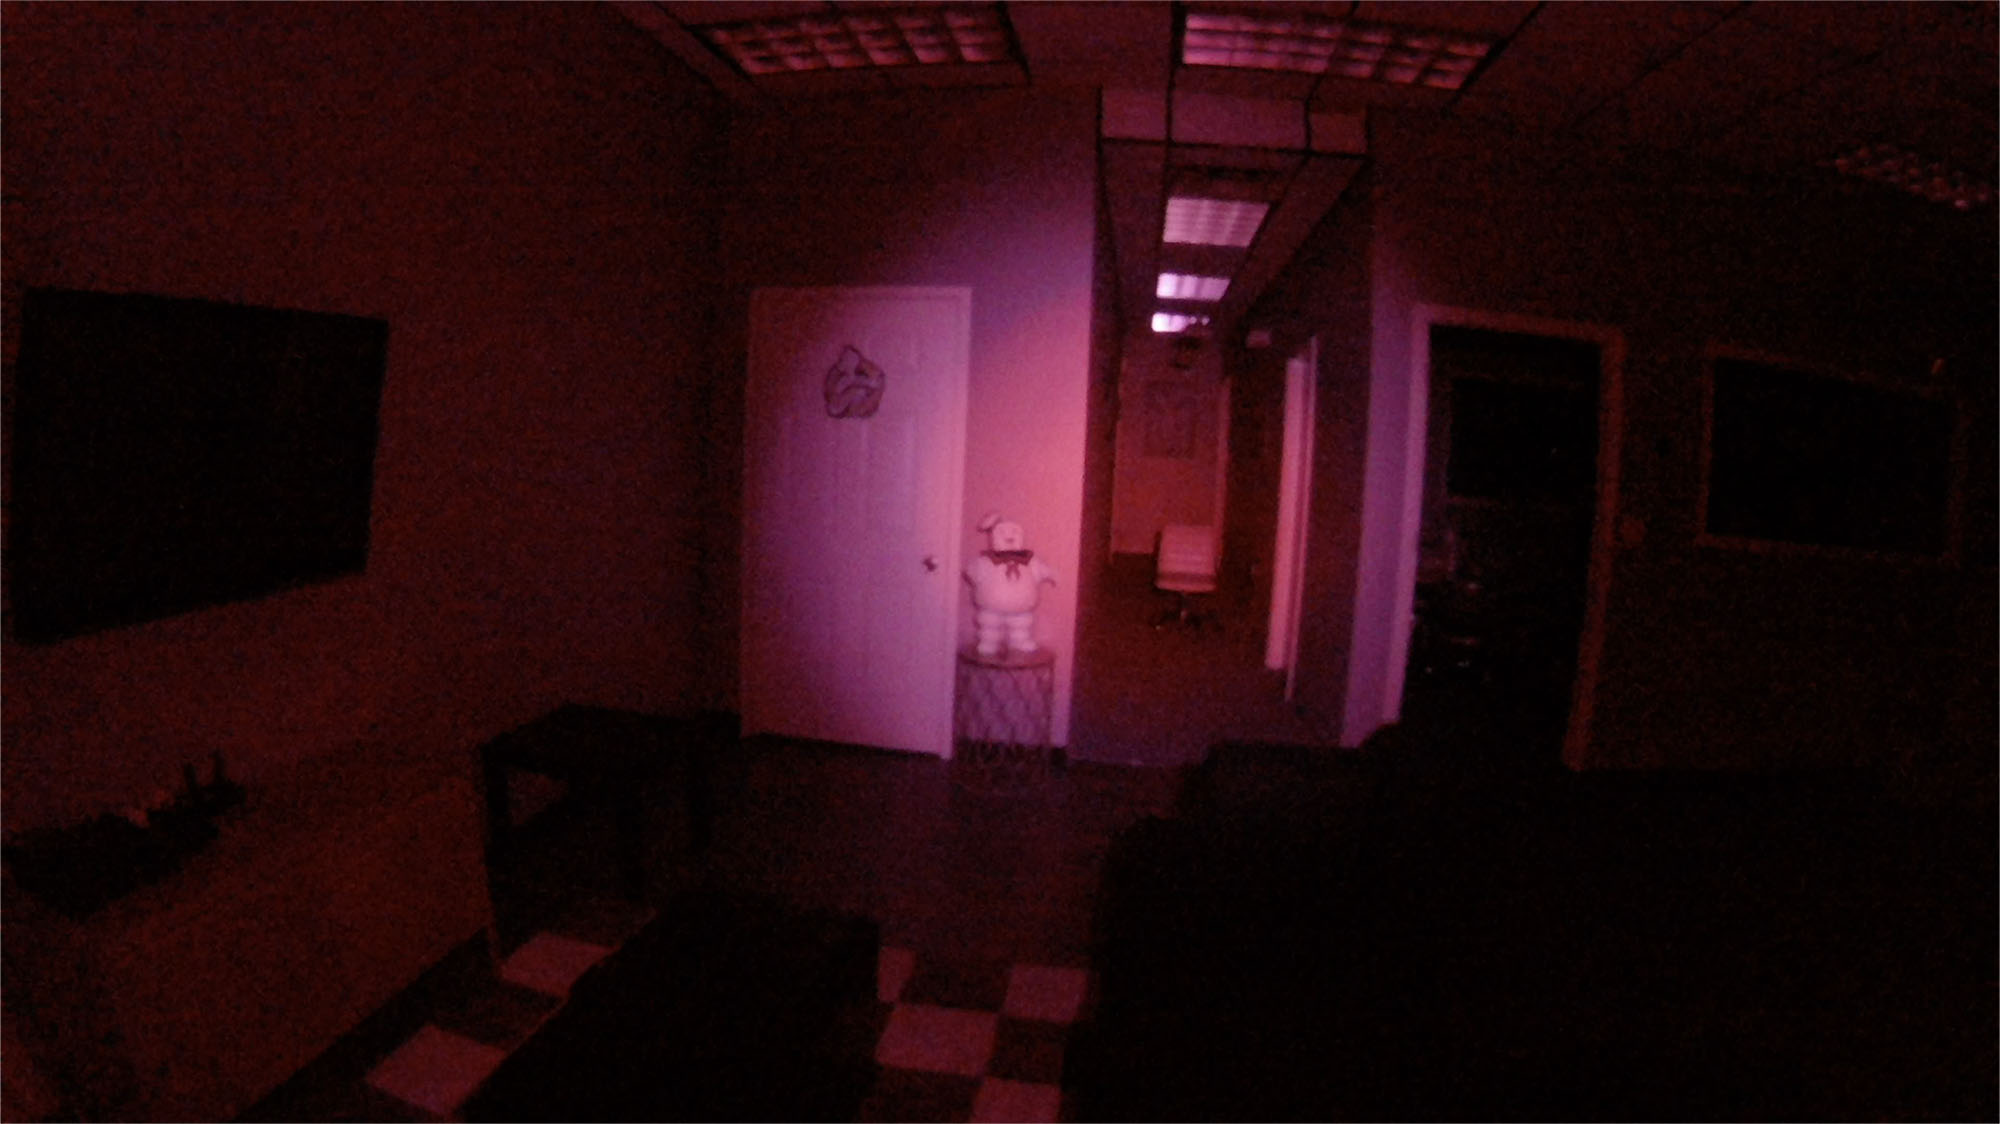 Creepy Hollow Dual Full Spectrum Light with Infrared (IR), Ultraviolet (UV) and Red
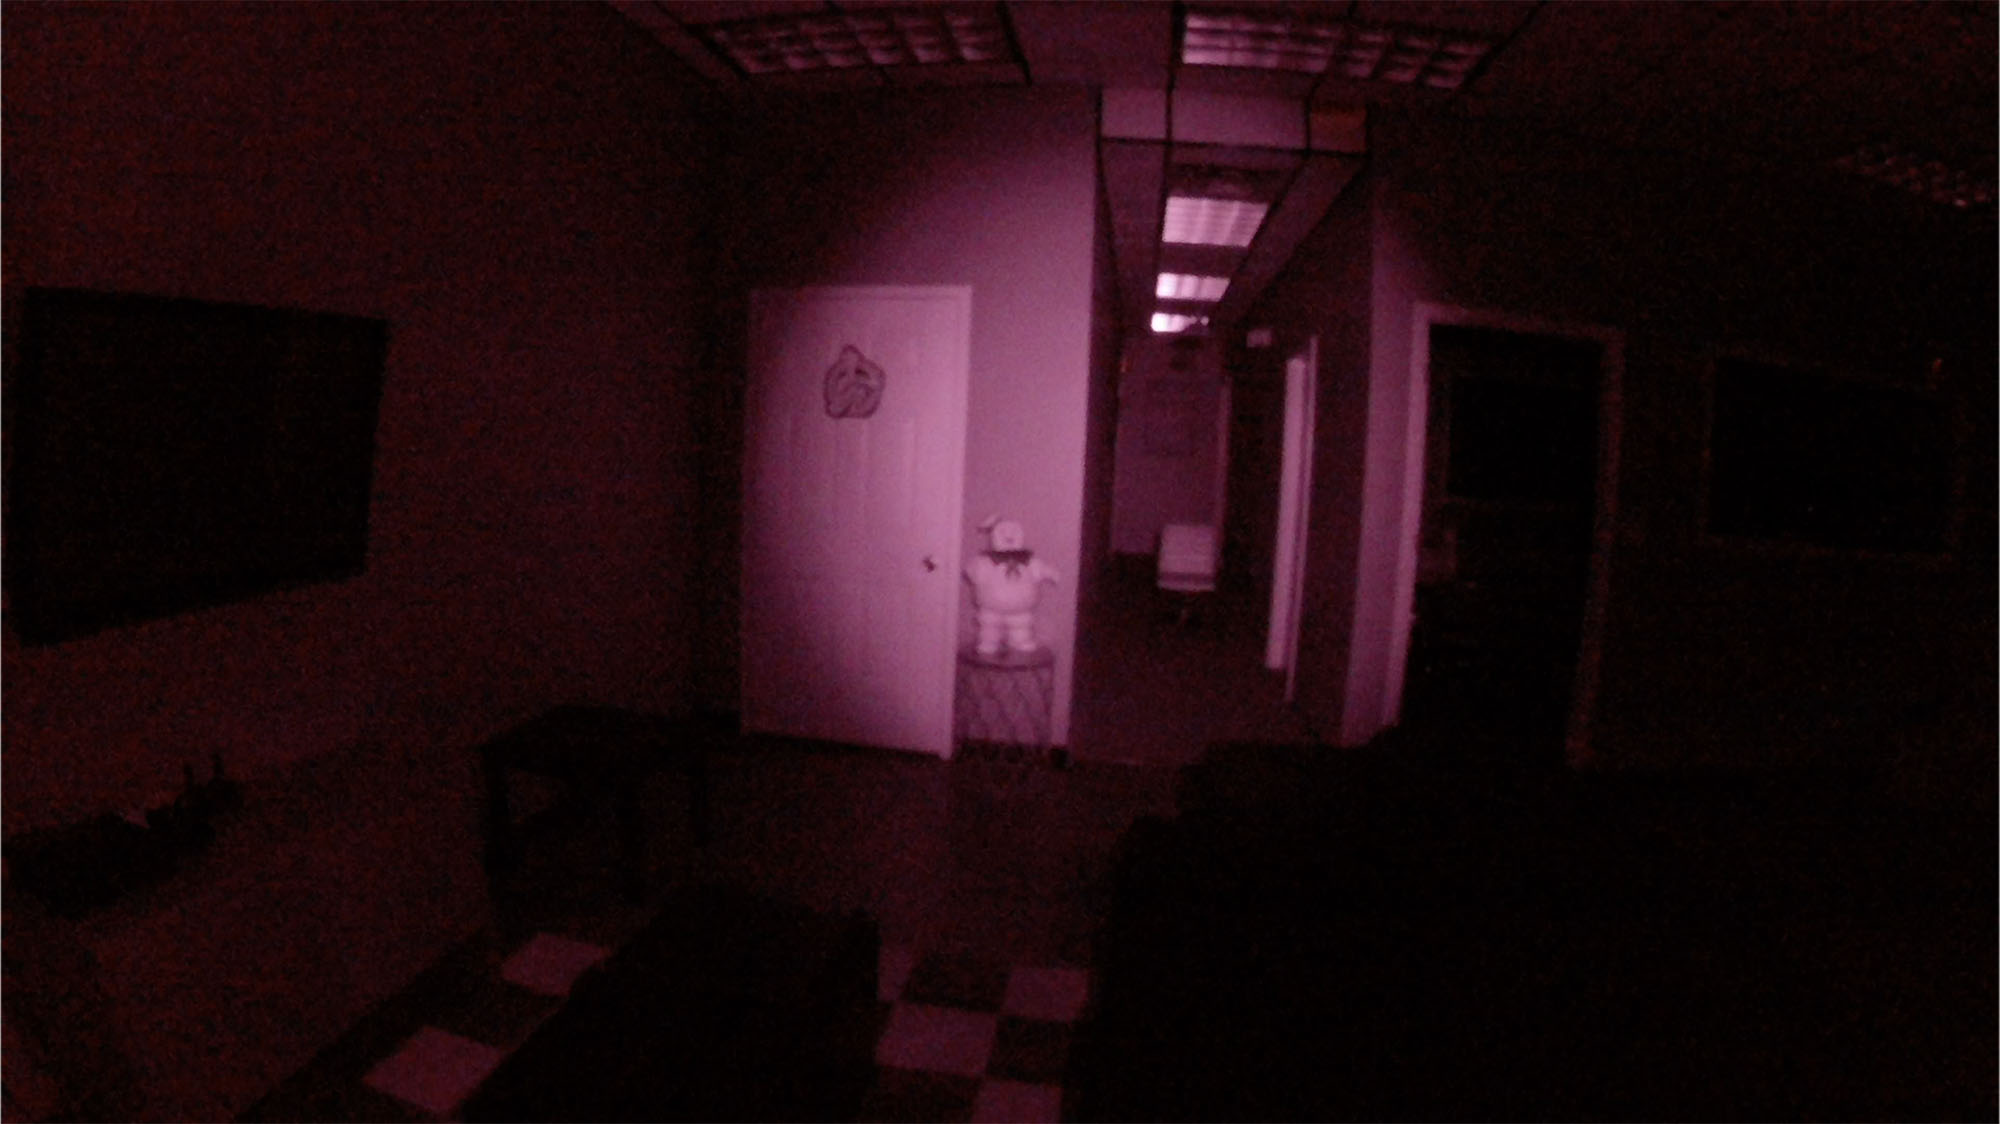 Creepy Hollow Infrared Light (IR)
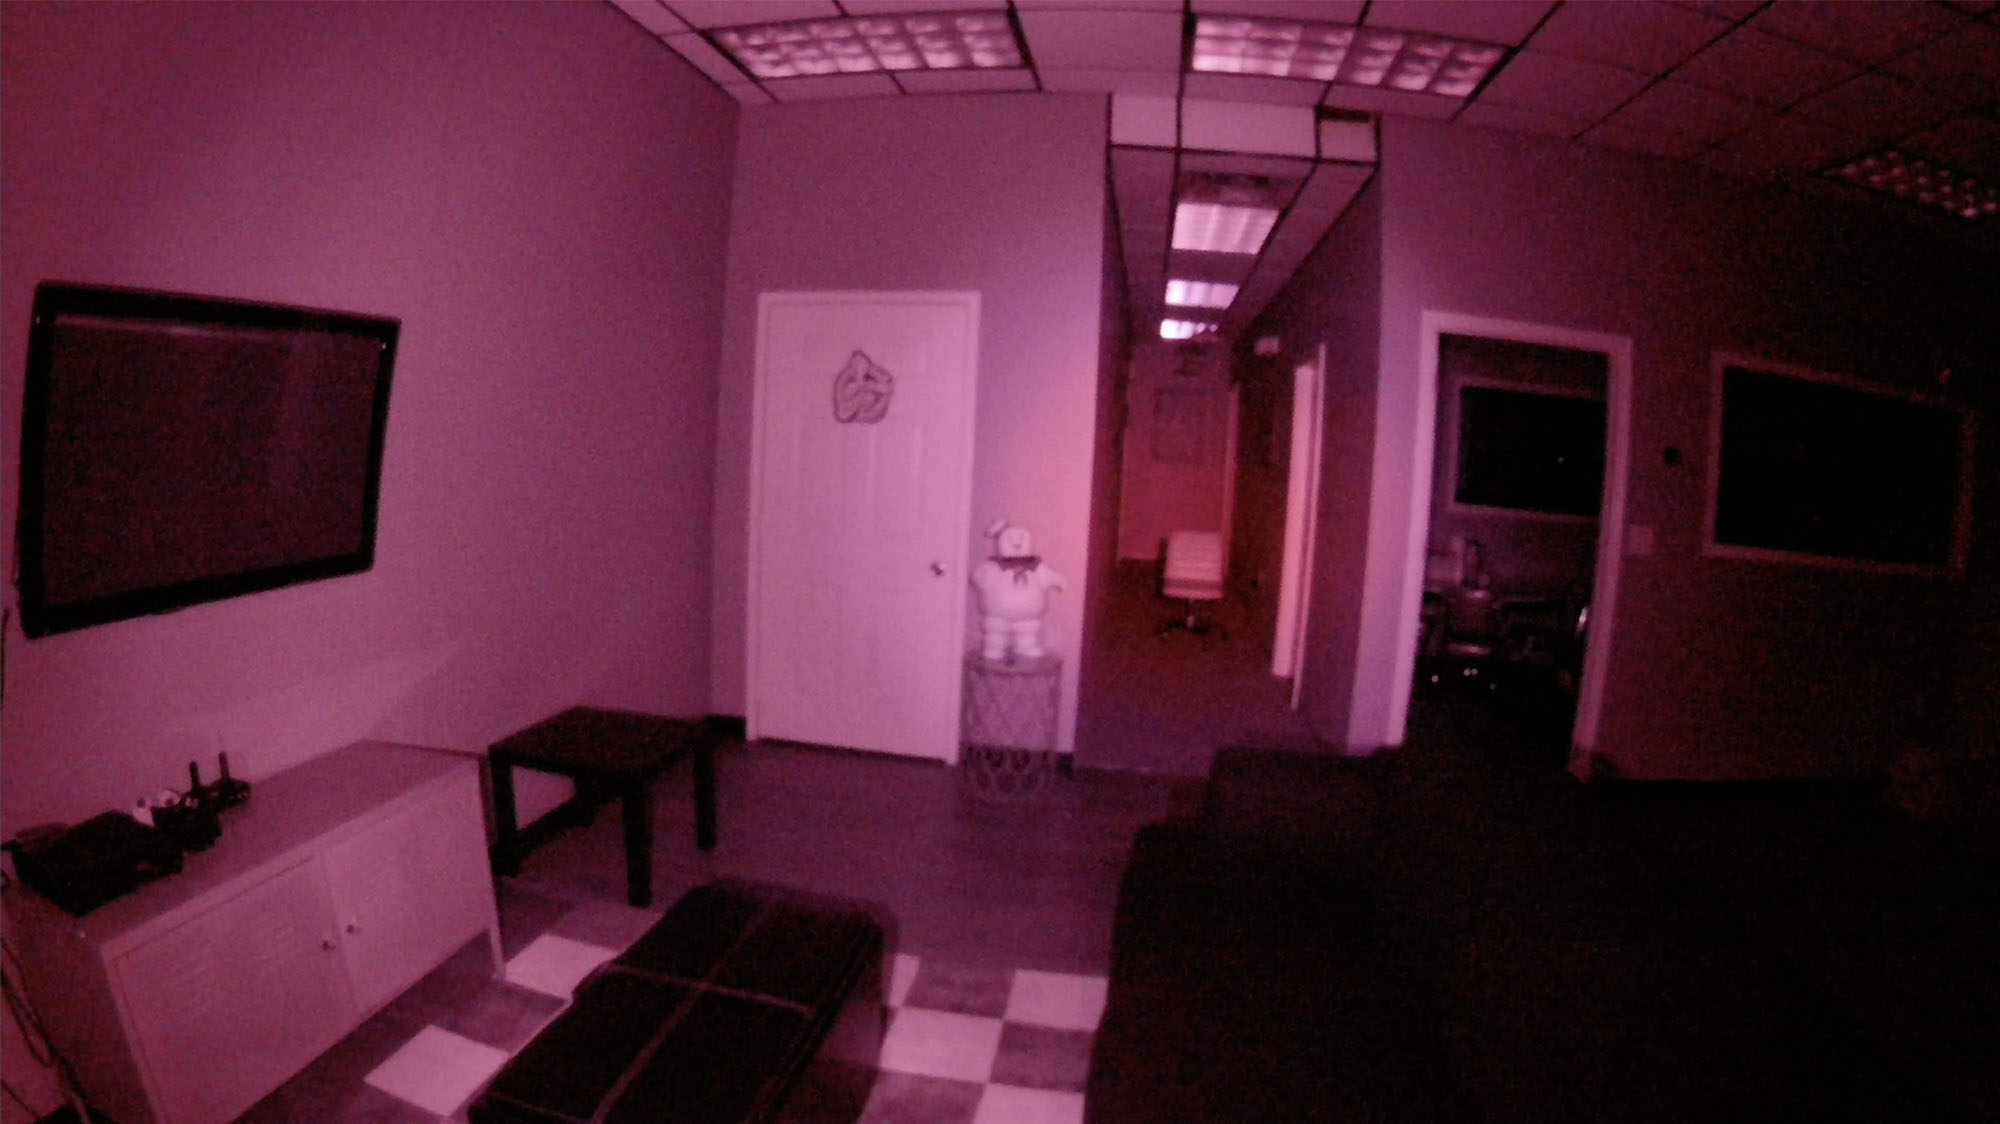 2 Creepy Hollow Lights: 1 Wide-Angle Light and 1 Dual Full Spectrum Light
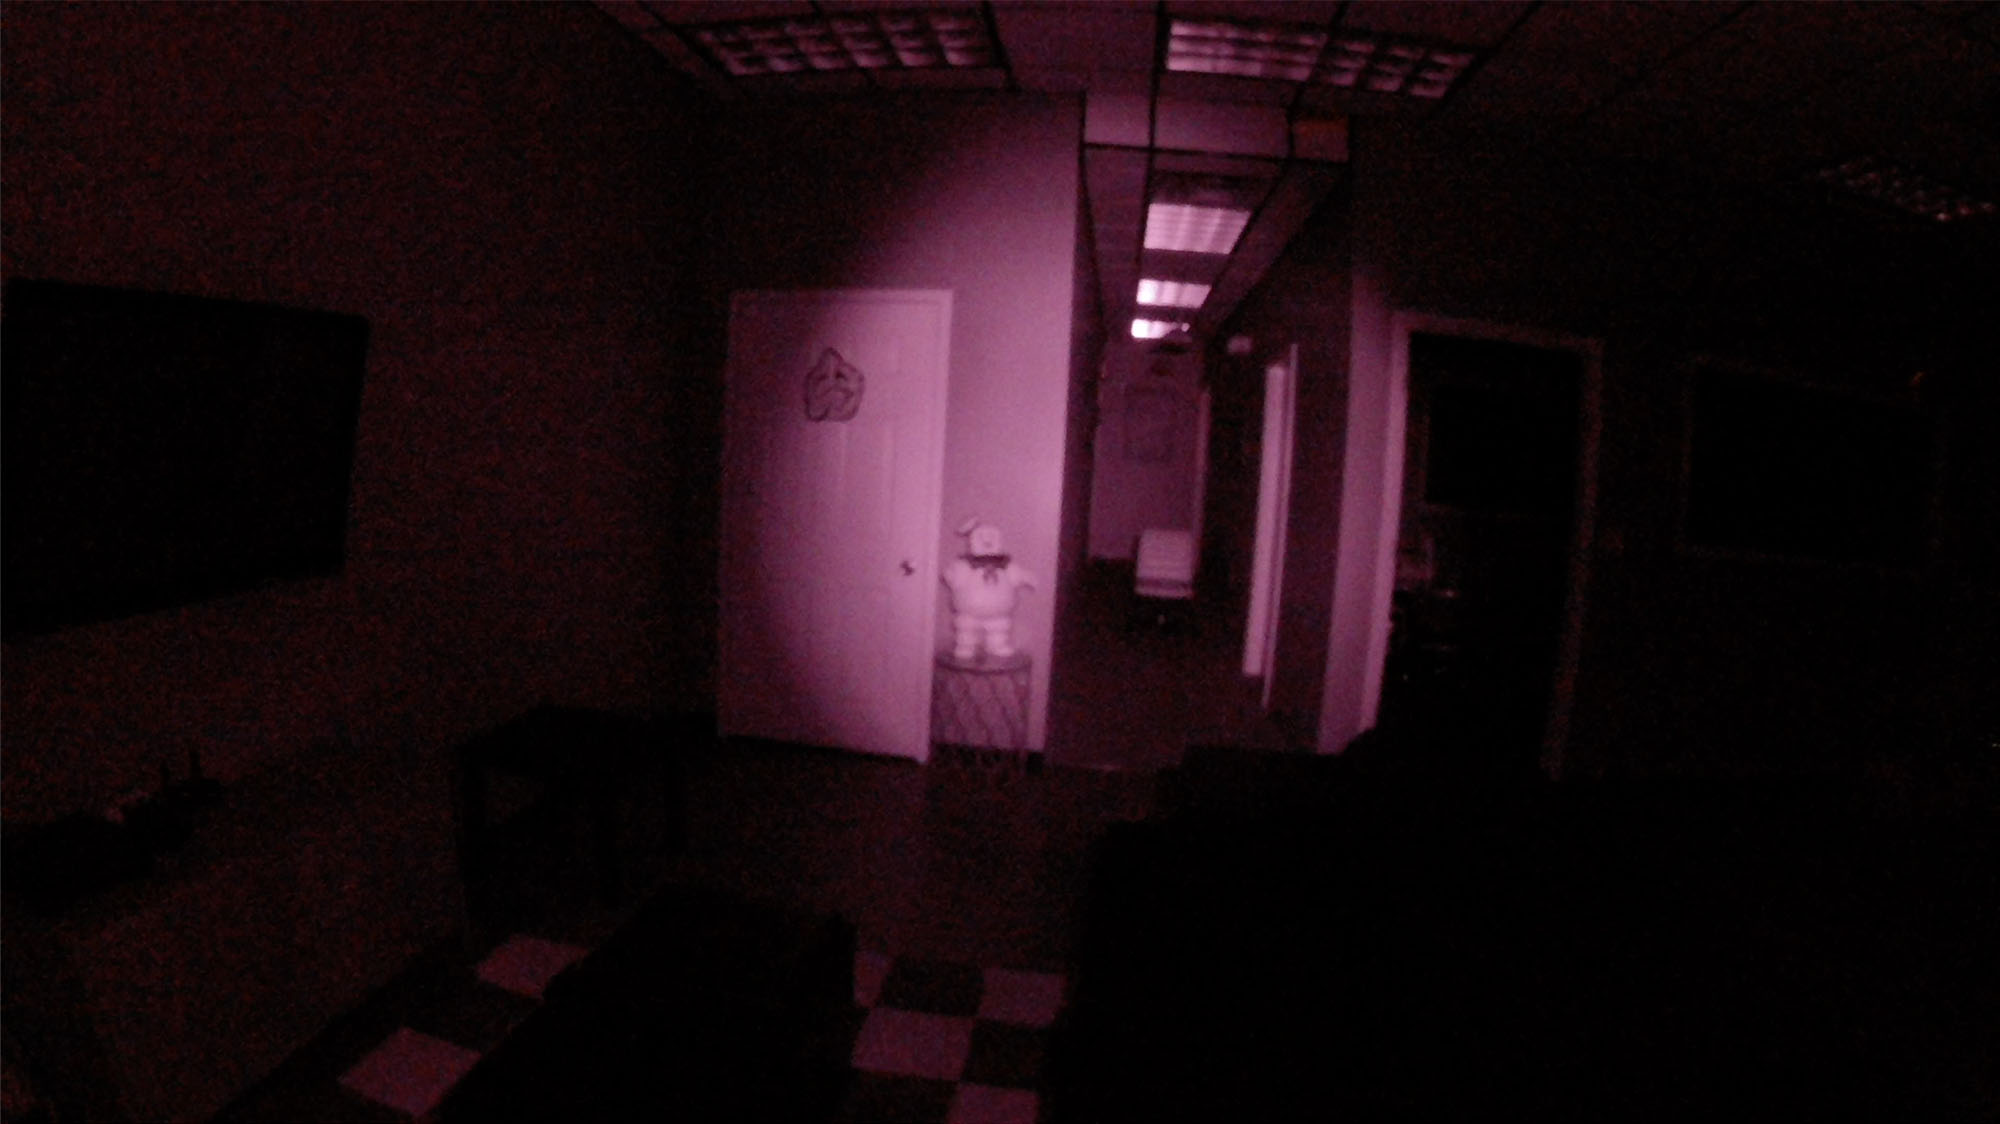 Creepy Hollow Compact Infrared Light (IR)
Other Lights
Below are some sample shots using various other lights on the market that we had lying around the shop that we have used (and liked) at some point. But technology advances and so does our needs. All of these shots were taken in total darkness with only the test light in use and the POV Cam Exposure set to +2.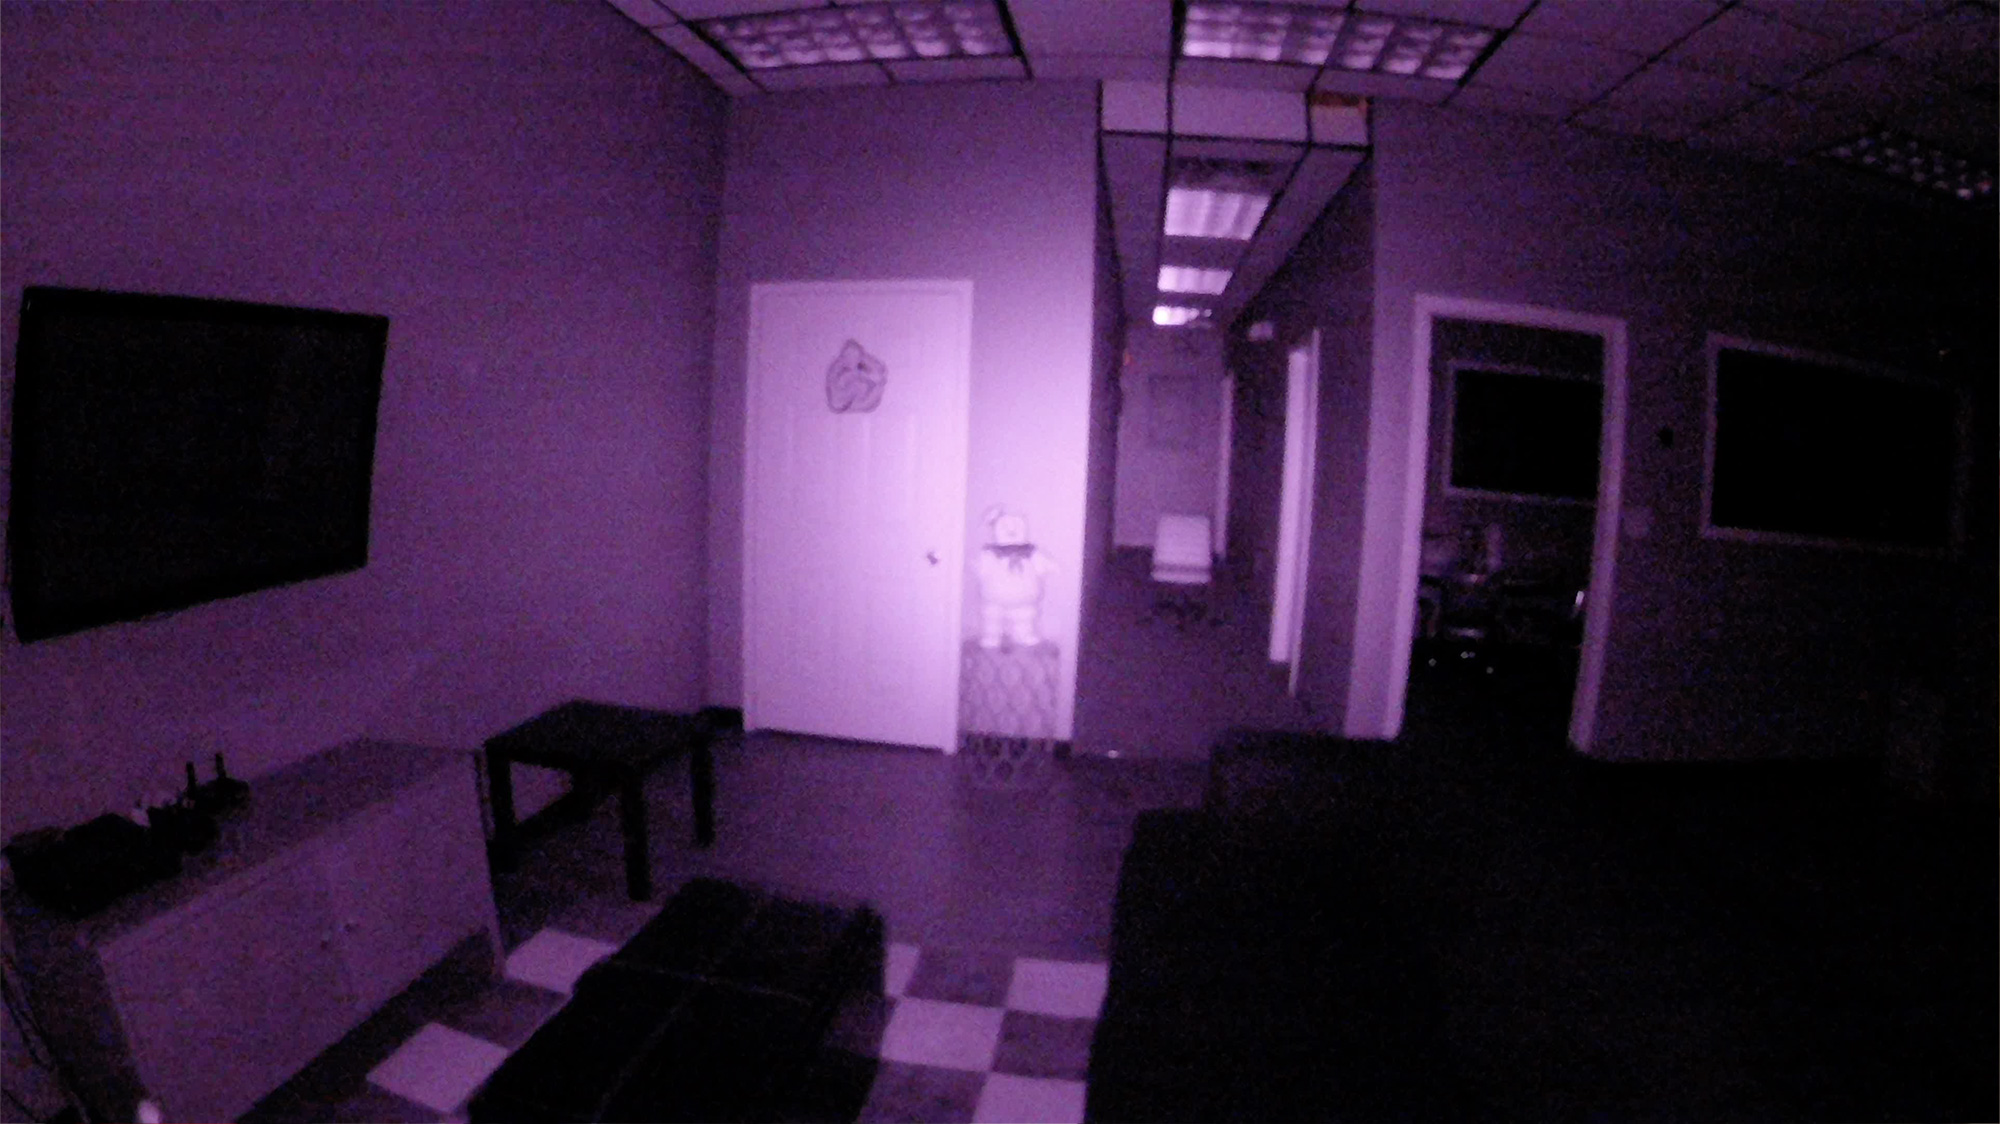 Polaroid or Sima Light (this light has changed brand names a few times over the years)
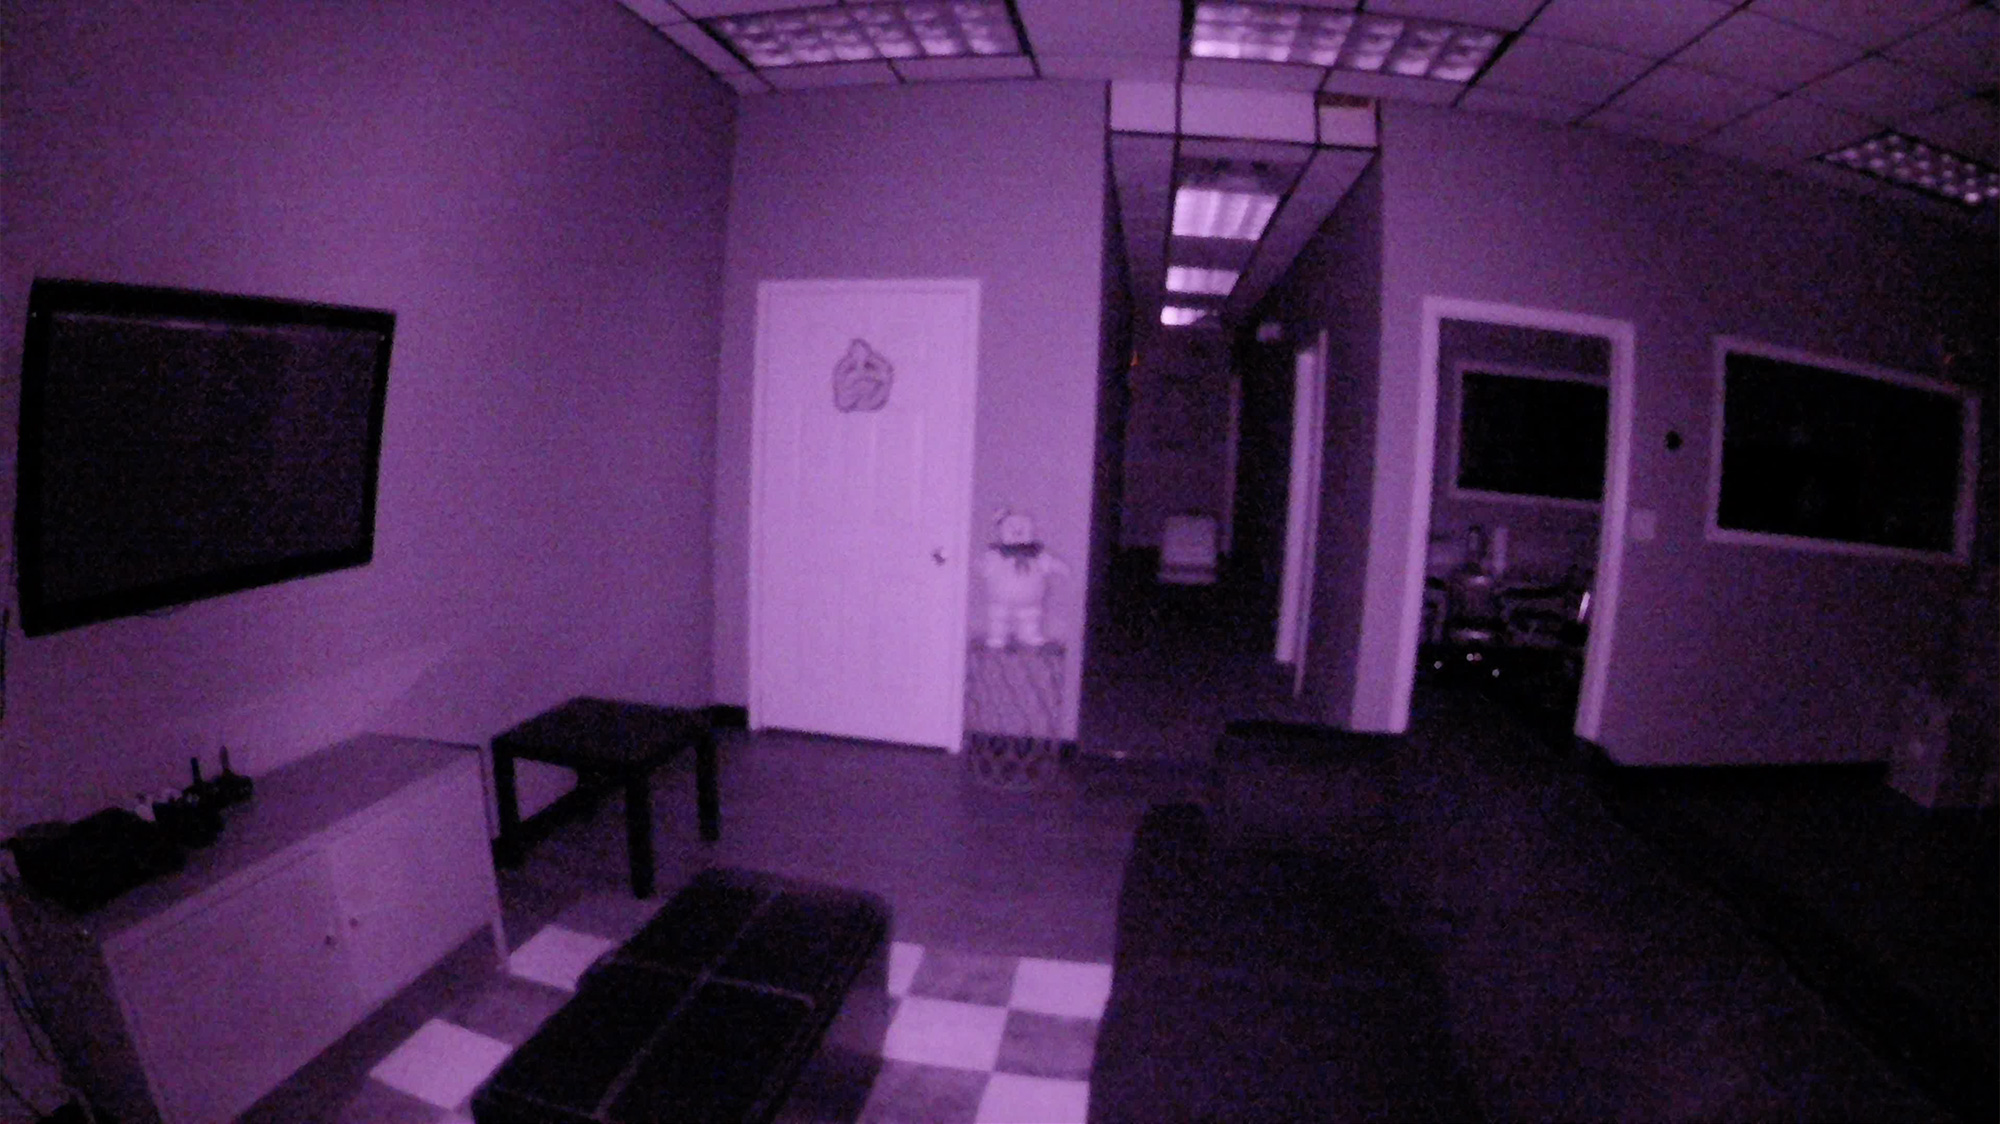 'Ordro' Light (generic light goes by many names)
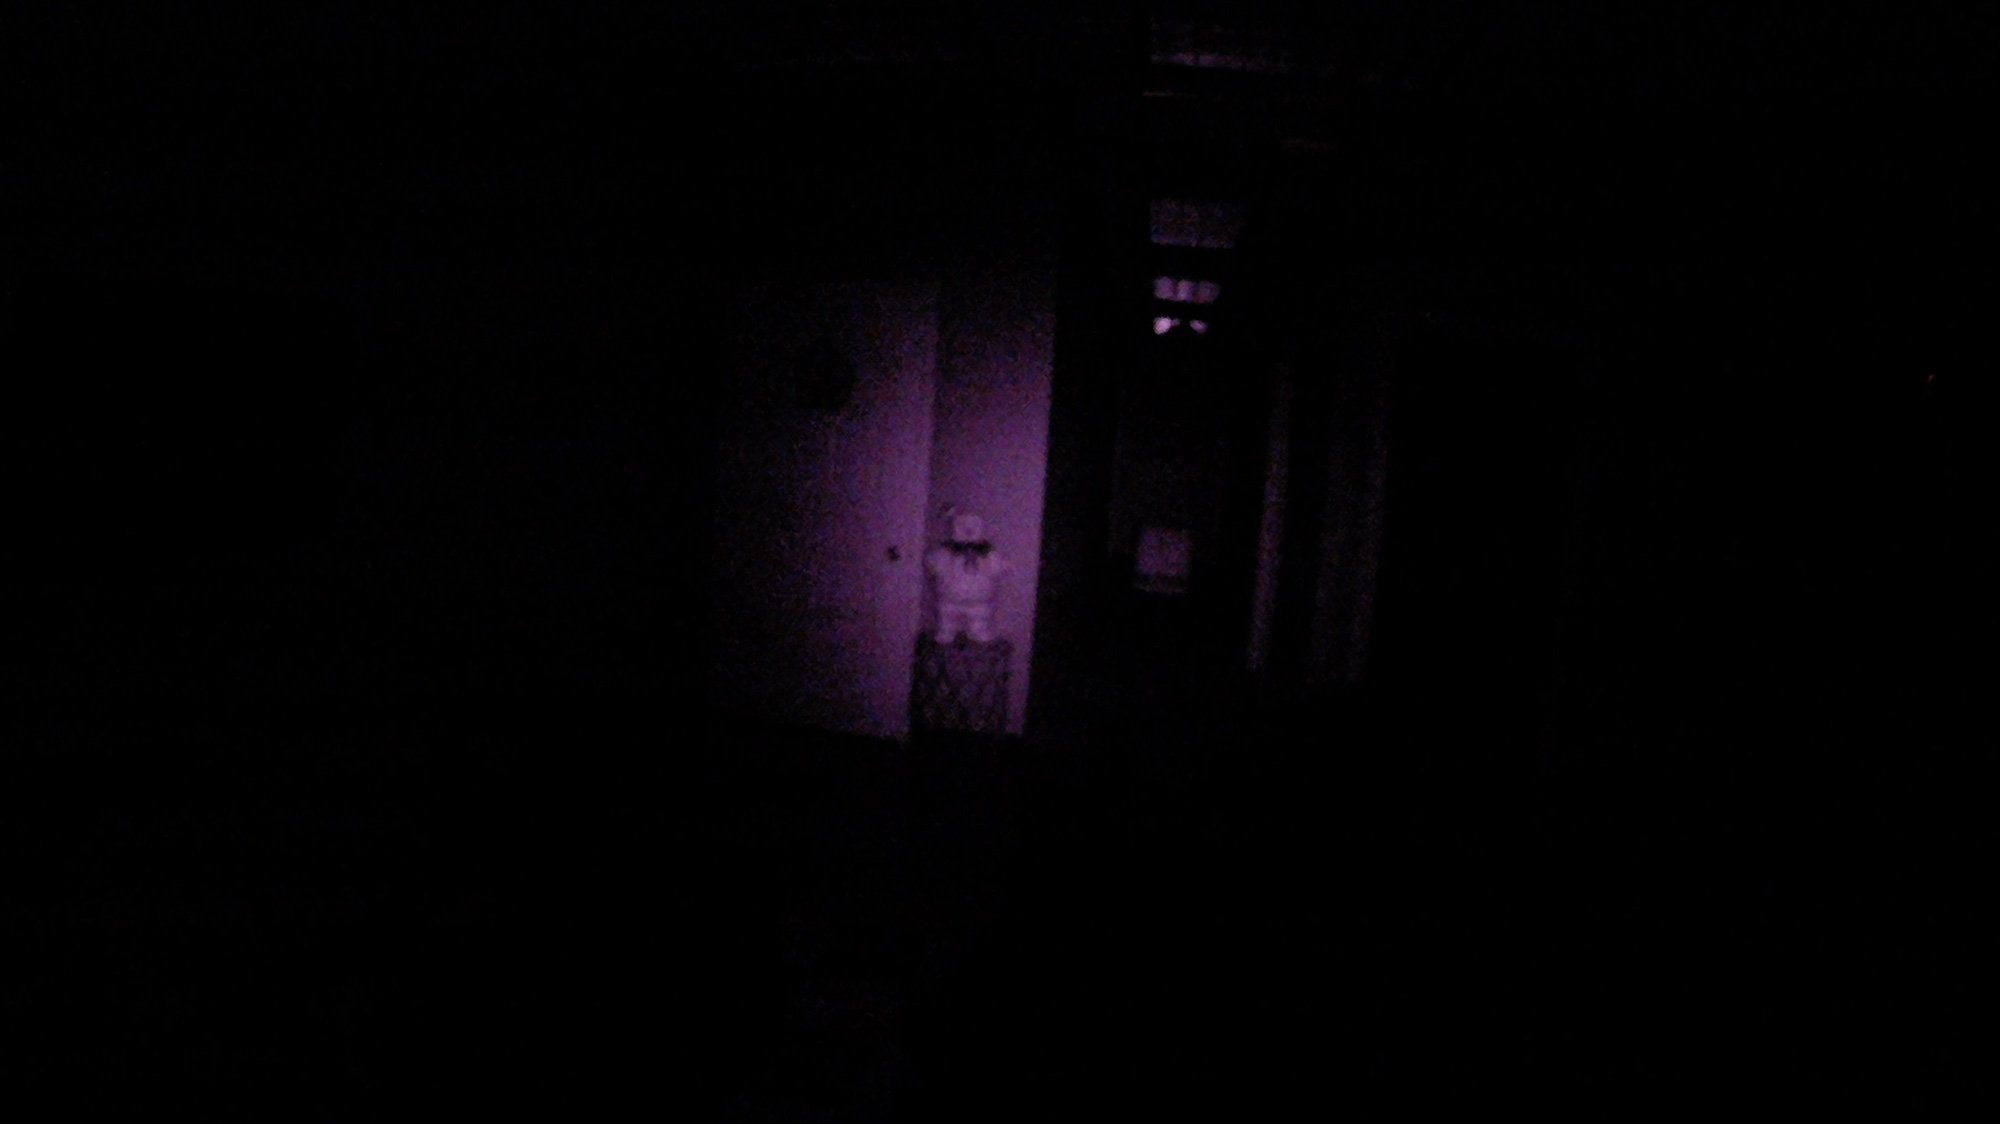 Phantom IR Light
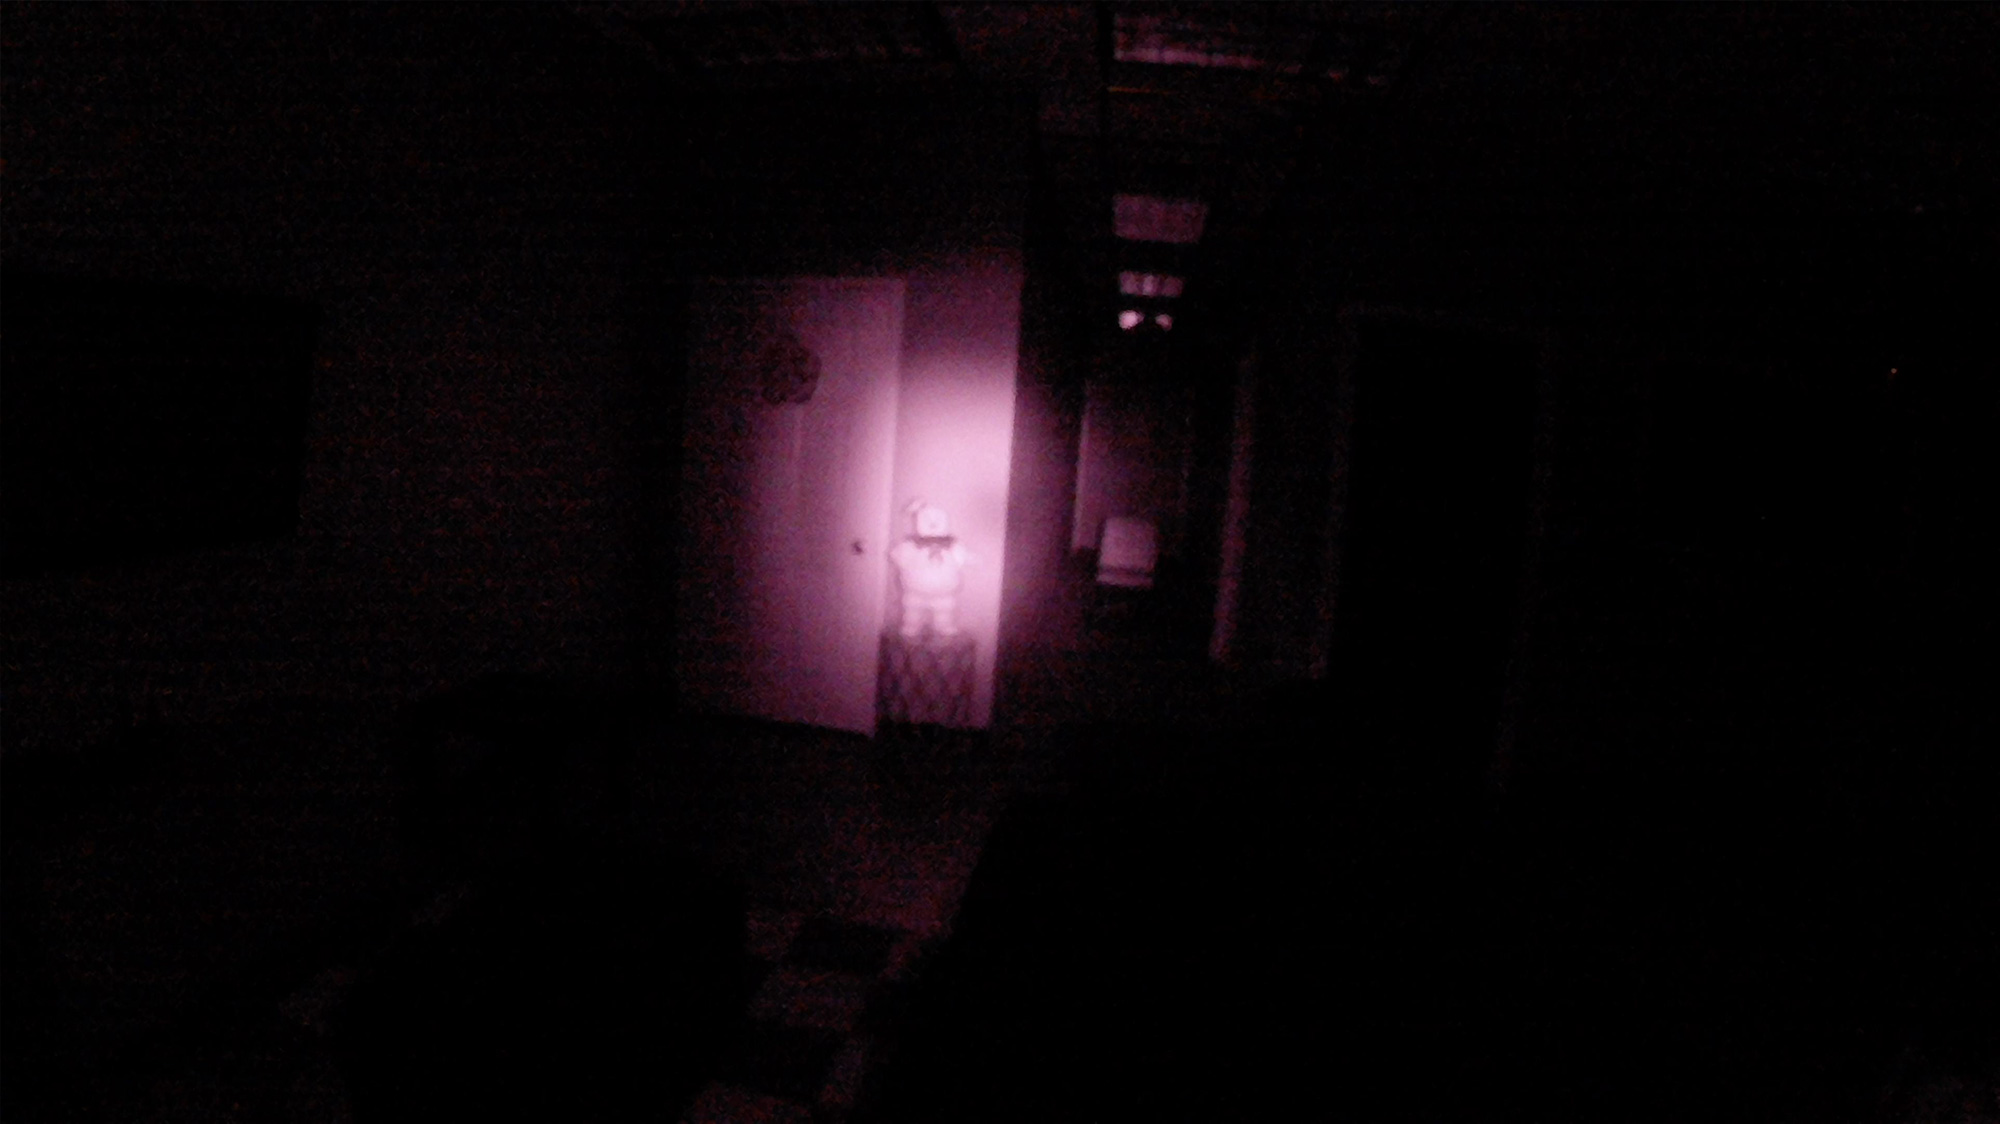 Sony HVL-IRM IR Light
Camera Settings
Camera and settings and features play a big part in how good of a shot you can get with night vision. The best night vision light in the world will do nothing for a camera that can't see infrared (IR). The camera must actually be able to see IR. While some cams may claim they have some kind of night setting, 'night shot' or 'low light' ability, this doesn't always mean has the ability to see invisible light. Full spectrum is always your best bet when it comes to ghost hunting or most applications for night vision. While there are tons of settings you could poke through on a camera, EXPOSURE is key for night vision cams. This tells the camera how much light it's allowed to let into the lens. In short, more light = better picture quality. So, here are a few examples of various exposure settings for reference using our Full Spectrum POV Cam.
Area lights on with Exposure 0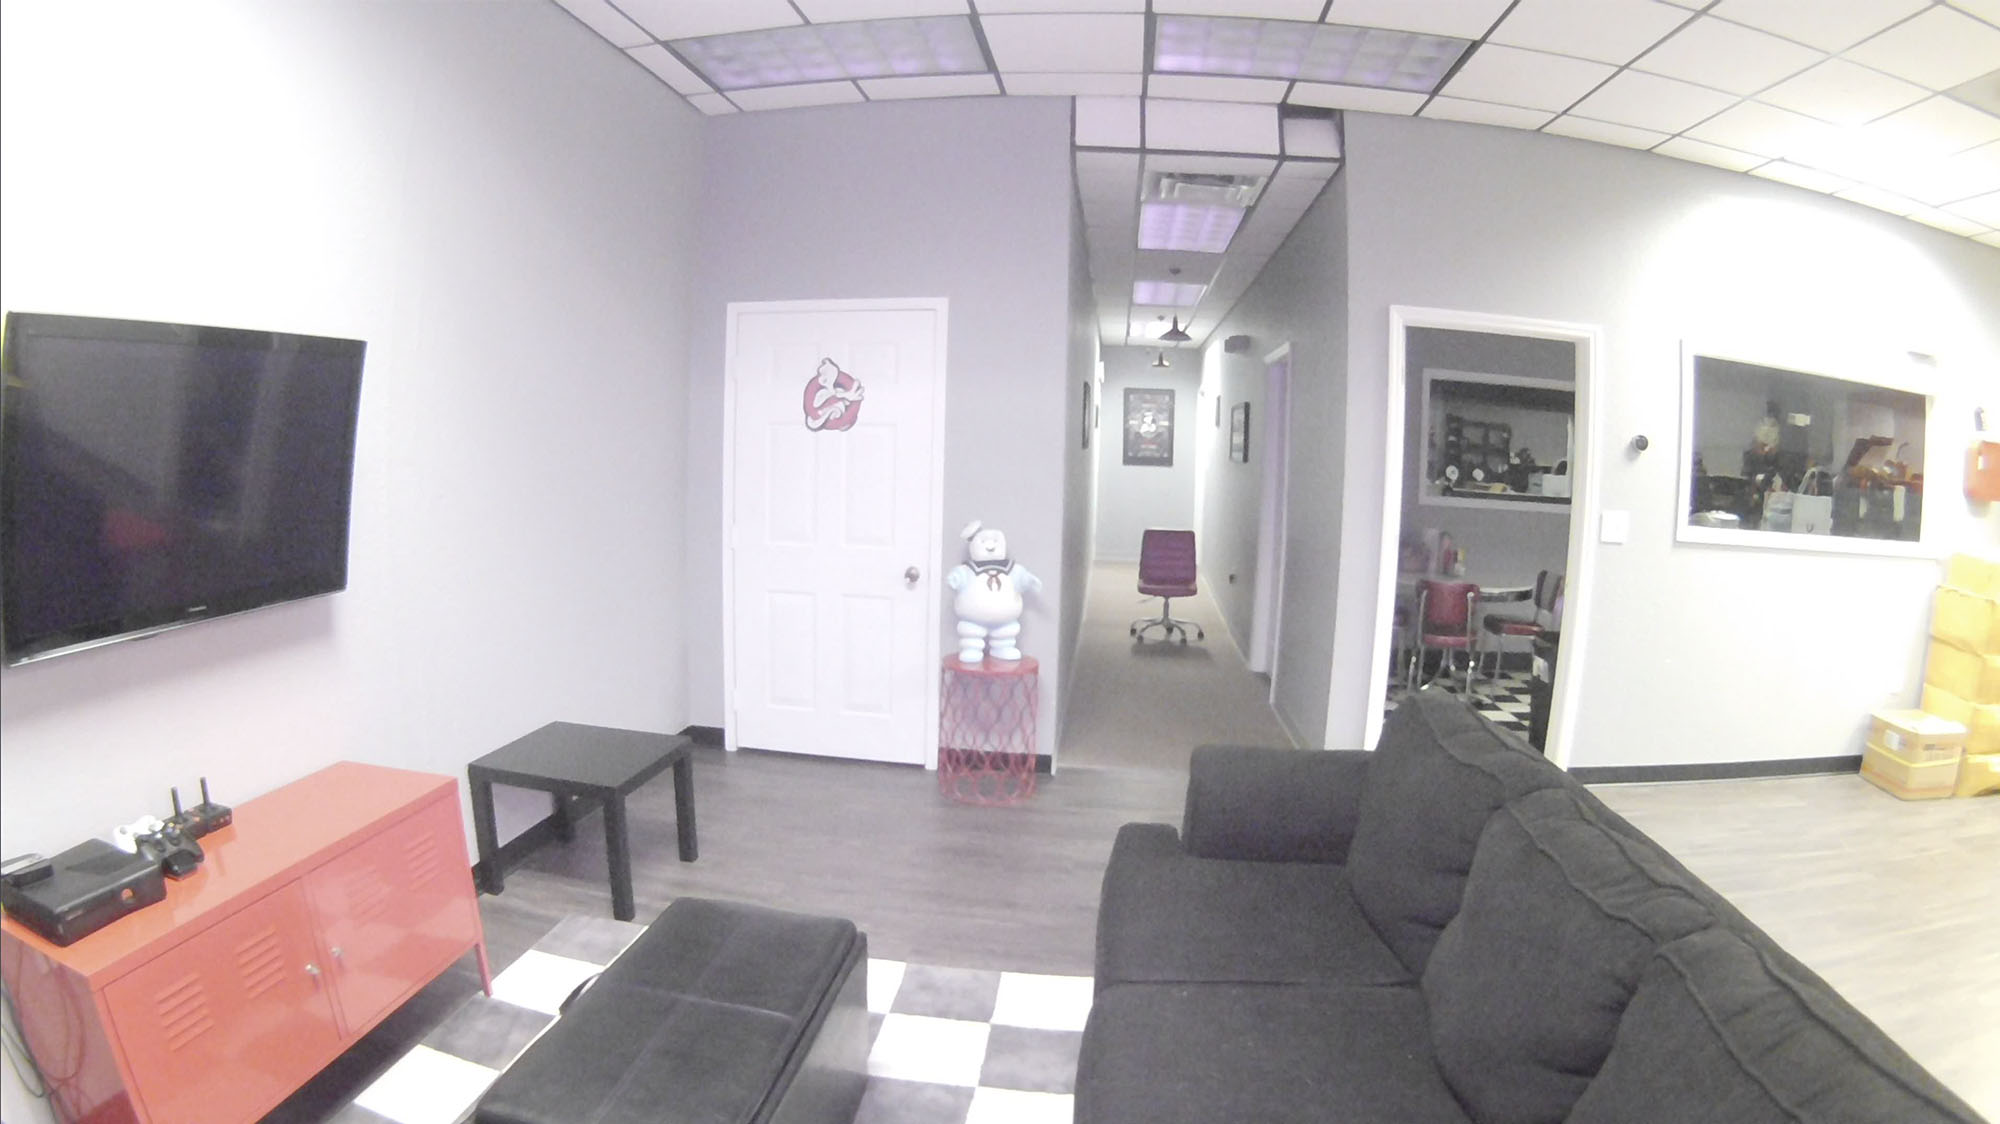 Area lights on with Exposure +2.0Total darkness: Exposure 0 with a Phasm Light (IR)
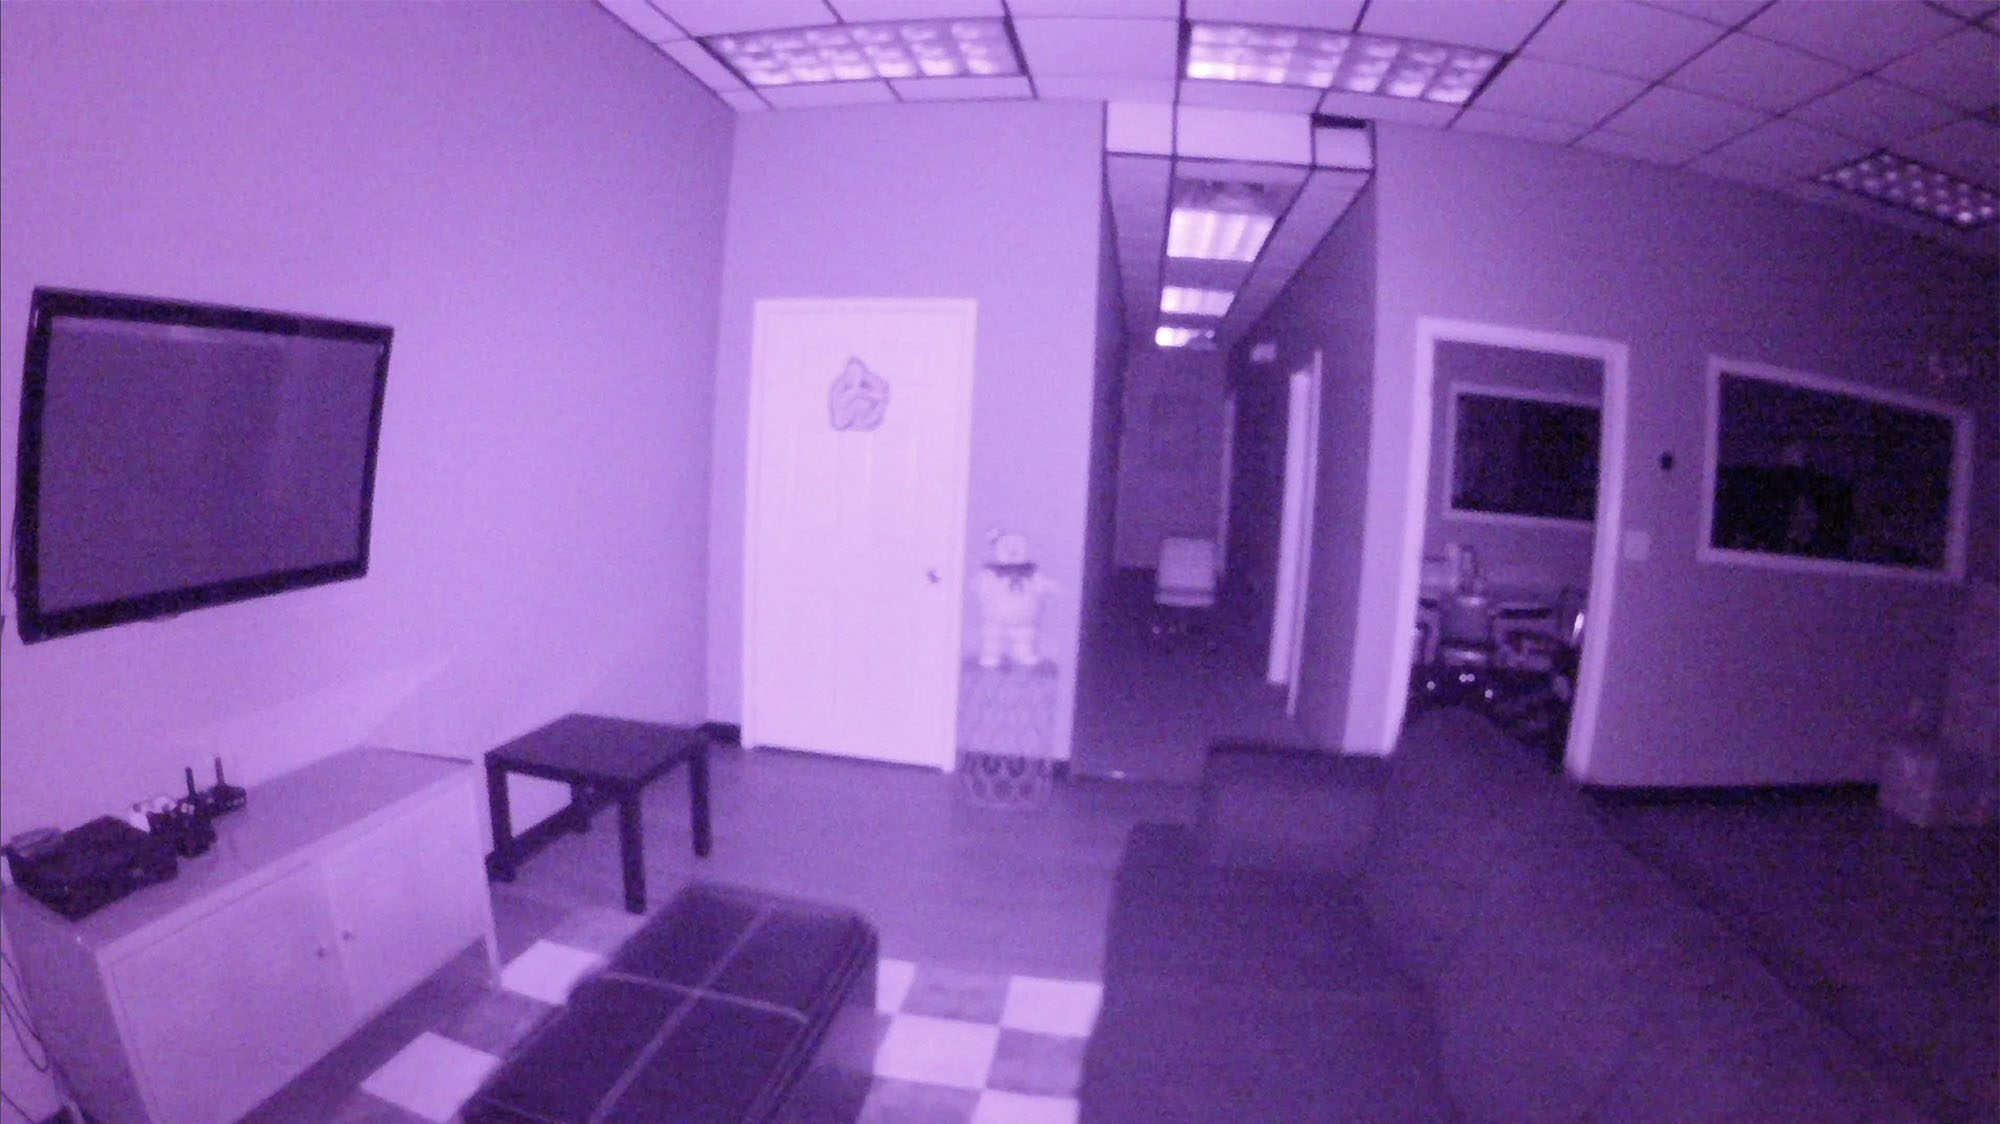 Total darkness: Exposure +2.0 with a Phasm Light (IR)
Phasm Color Light with a Still Camera
Since the Phasm Light also has the ability to produce visible light in various colors, let's see how it does with a NON night vision camera. The following shots were taken with a DSLR camera. (Specs: Canon RP, f4.5, ISO 1600, Exp. 0)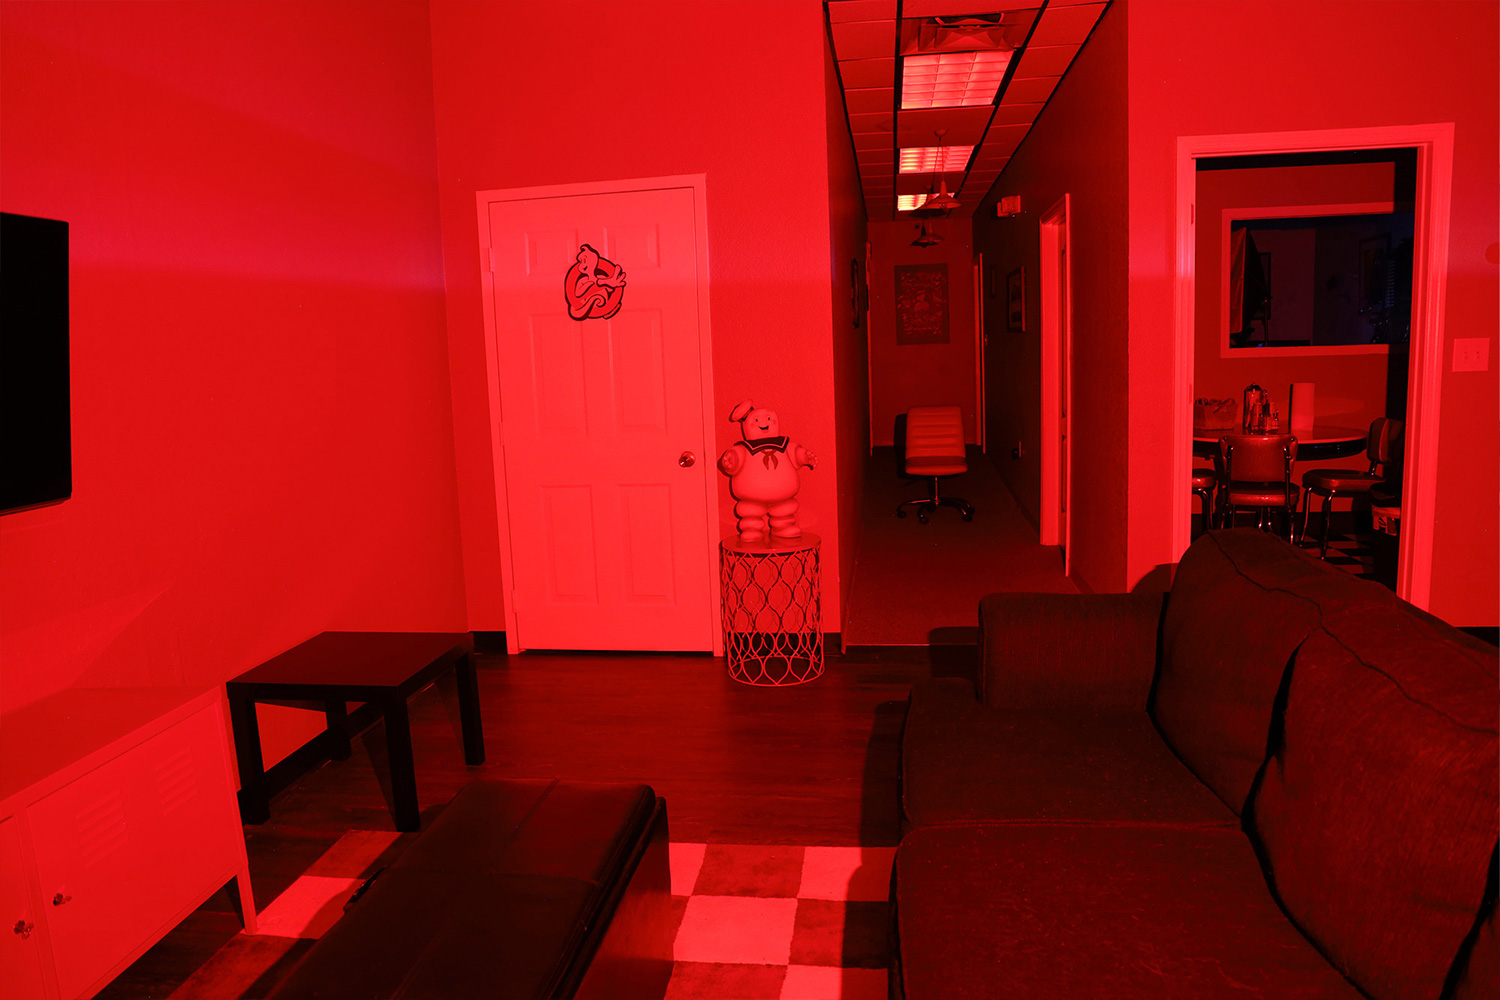 DSLR Camera with Phasma Red Light
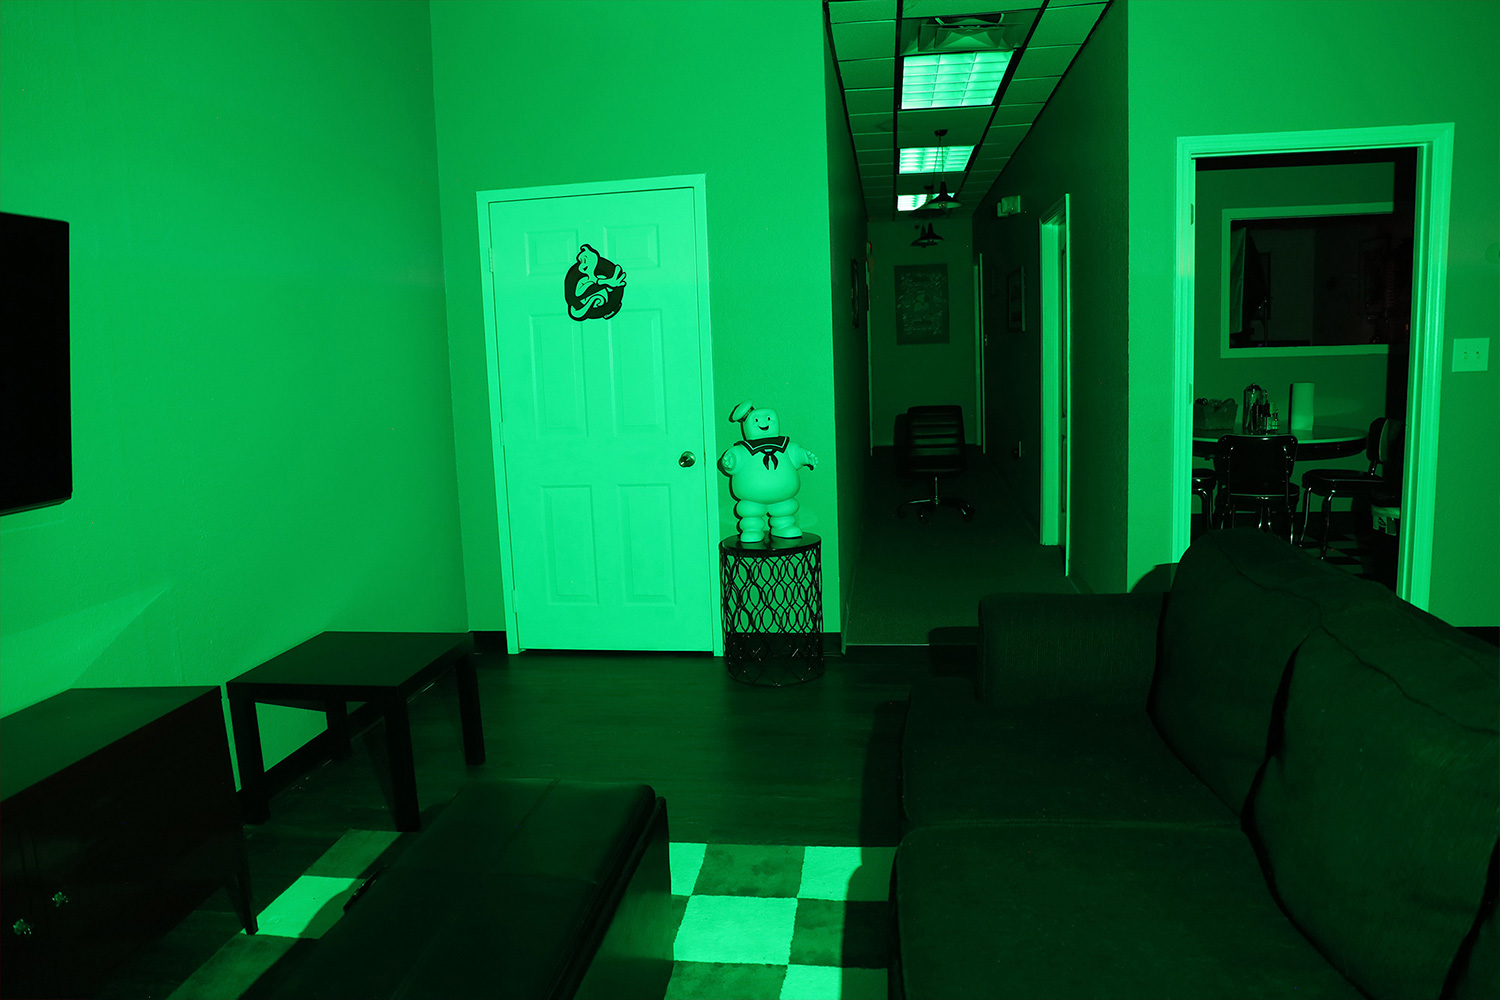 DSLR Camera with Phasma Green Light
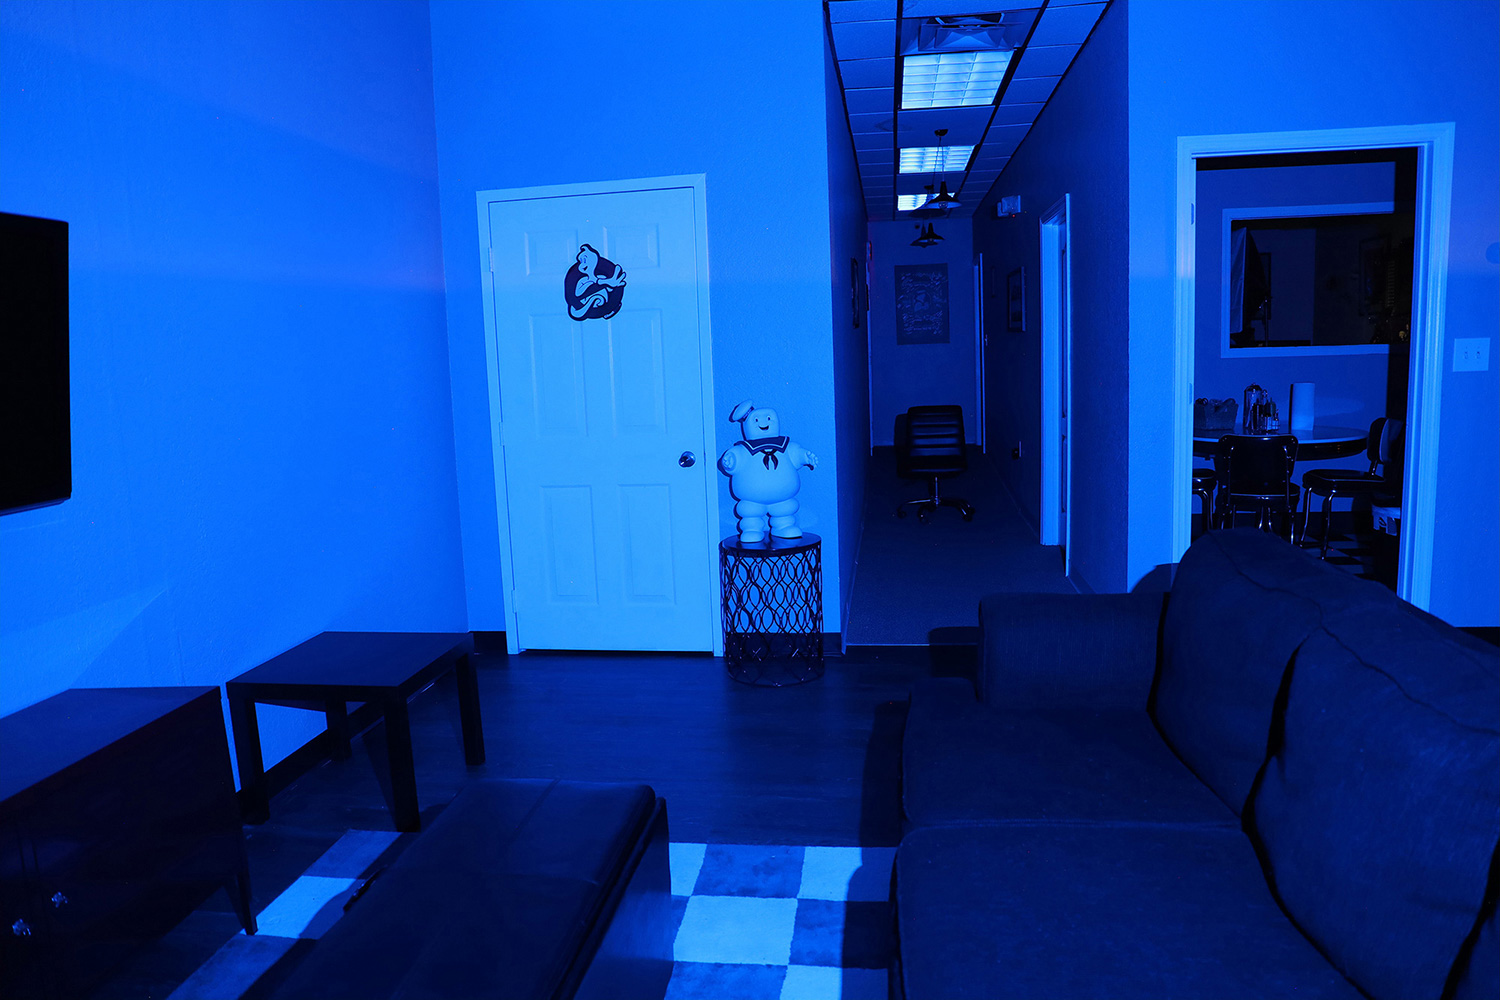 DSLR Camera with Phasma Blue Light
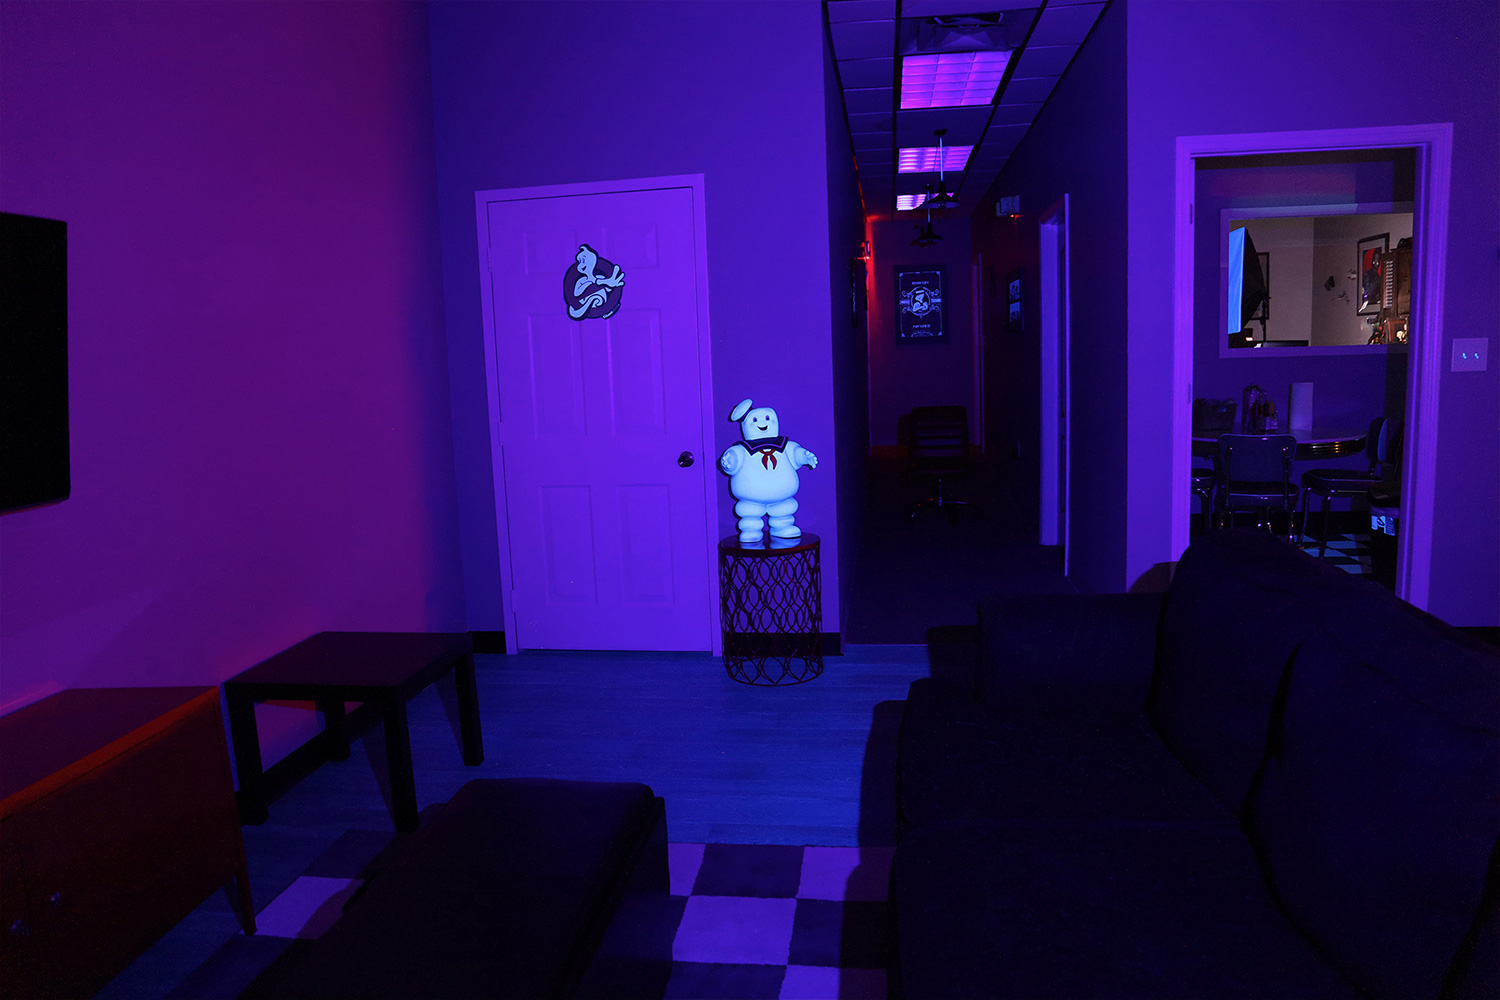 DSLR Camera with Phasma UV Light (this one took a while to expose but I love how it comes out)
Outdoor Tests with POV Cam + Phasm
Here are some tests done outdoors. Distance in night vision GREATLY depends on the camera capabilities and settings. All of these shots were taken outdoors late at night. With a sliver of moon and lot of tree coverage visibility was just about zero. Phasm Light with 100% IR + POV Cam Exposure set to +2.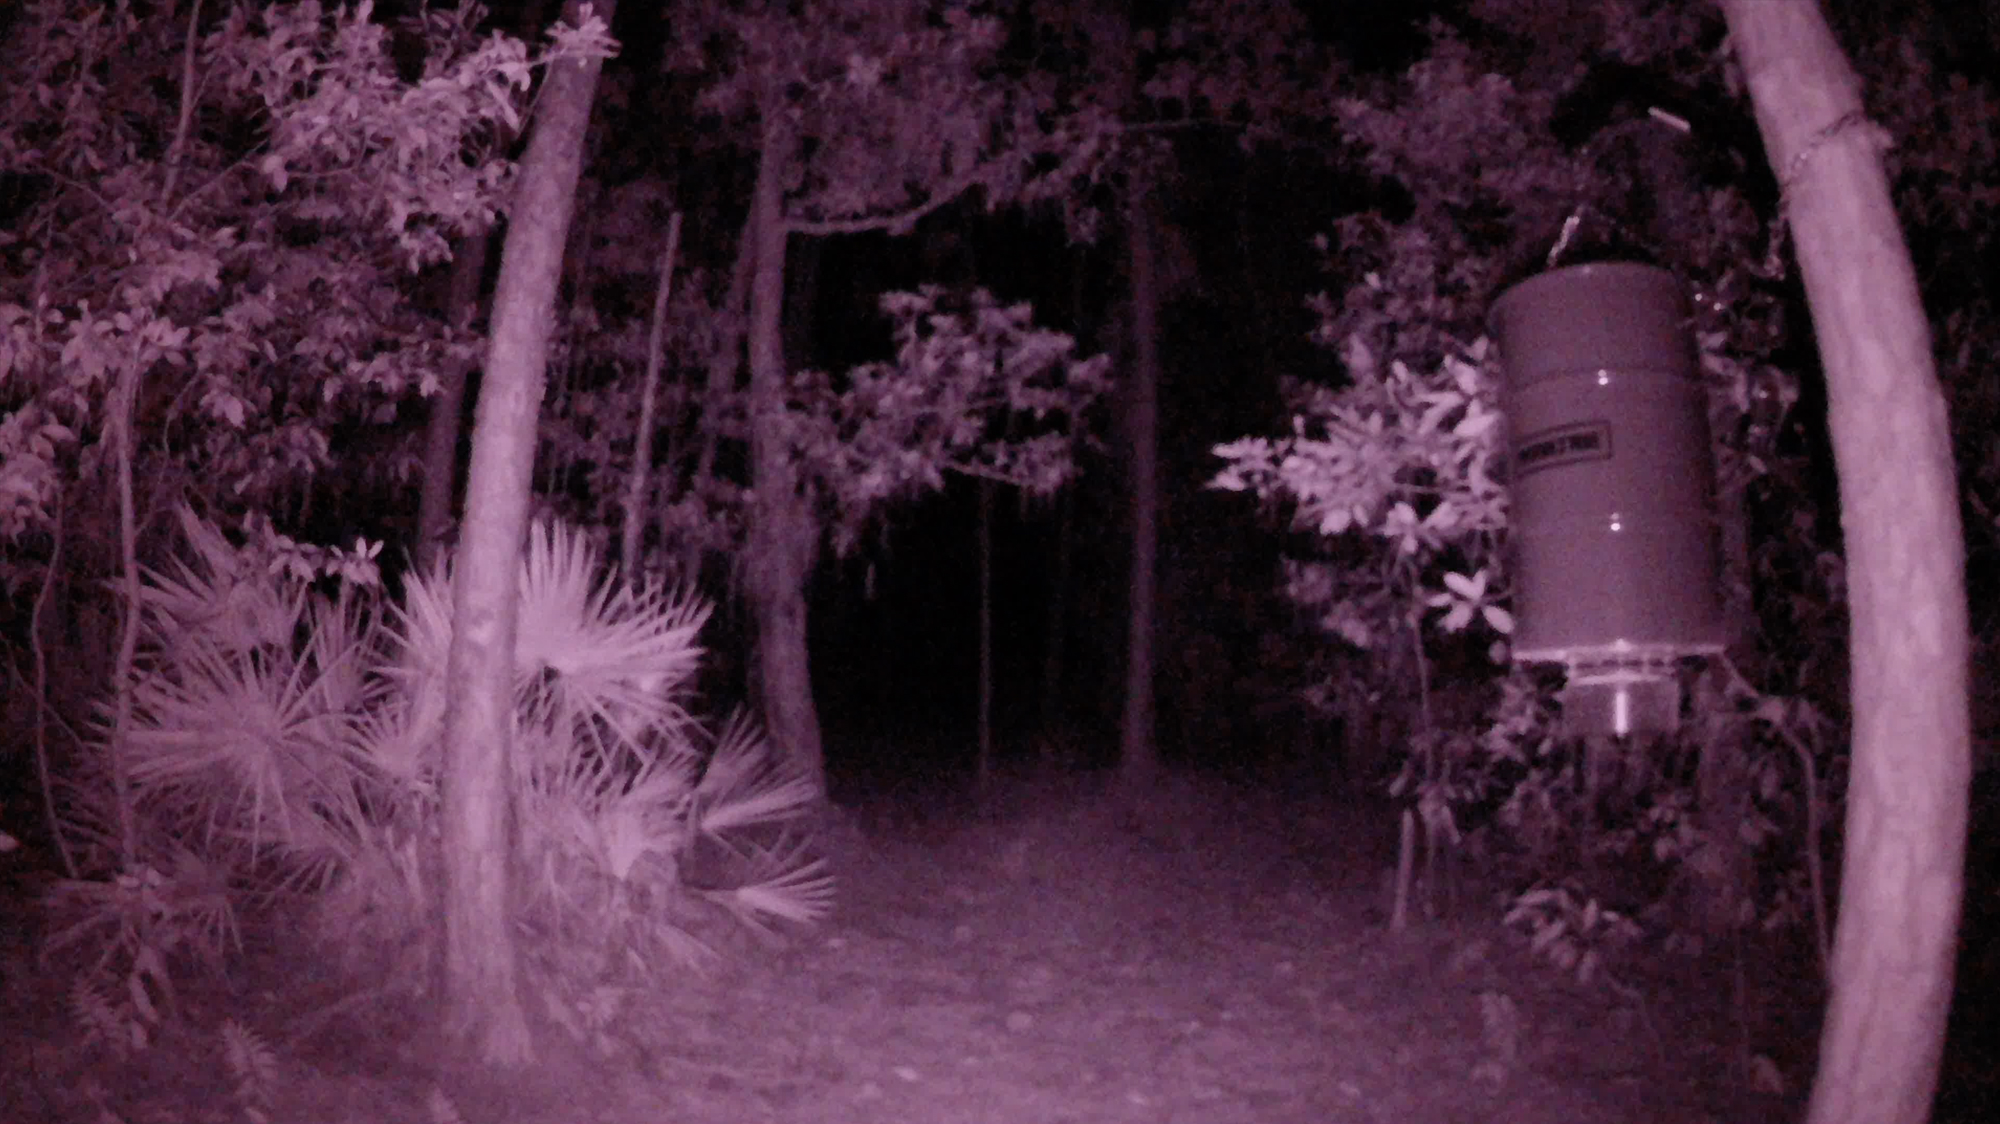 Outdoors with POV Cam and Phasm Light