


EVP Band Wrist Recorder 3
![]() Record audio on your wrist. Go hands-free for clear quality and easy documentation.
Record audio on your wrist. Go hands-free for clear quality and easy documentation.
This 'handy' audio recorder puts high quality EVP capture right on your wrist with a full color display, live listening, built in speaker and more storage. Just put it on, hit record and go investigating. This unit will last through the night without having to even think about it. While strapped on your wrist you will greatly reduce false evidence from fumbling sounds leaving your hands free to work.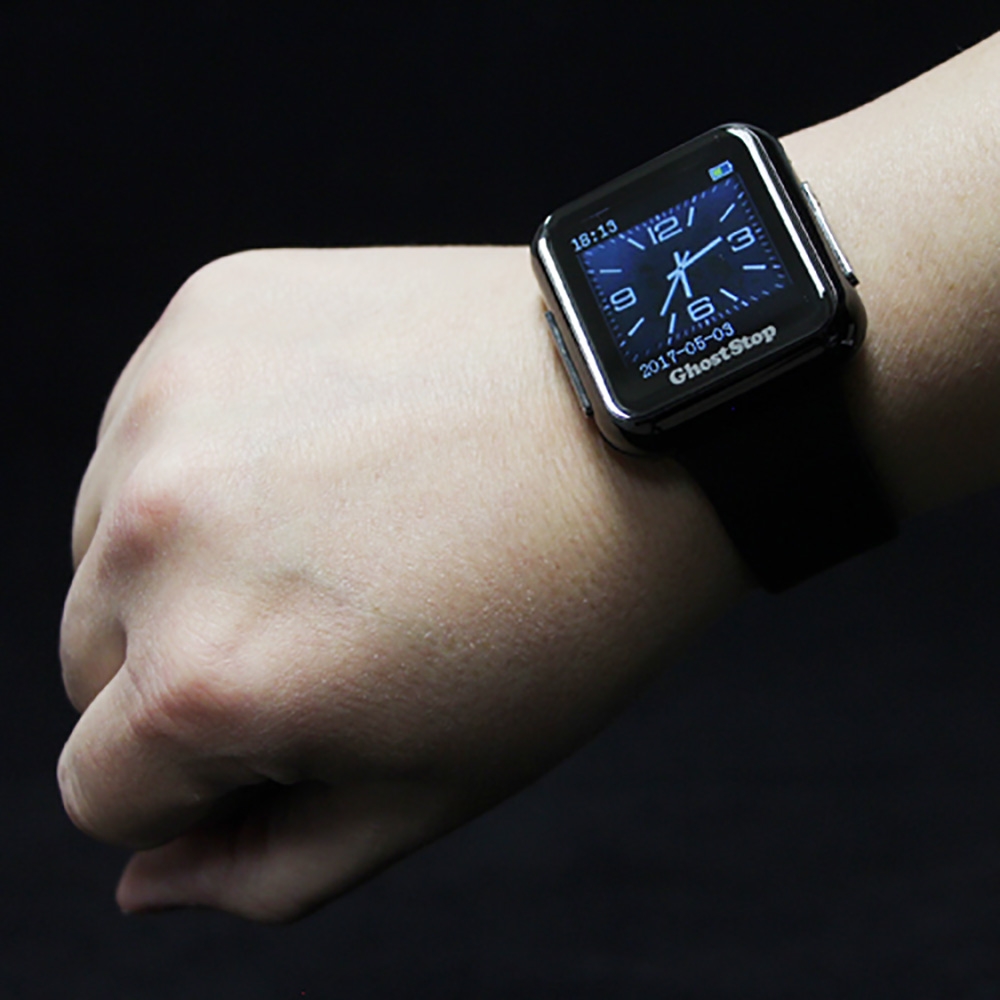
Quality you'd expect from a high-end unit that's smaller and wearable.
- Crisp, high quality sound
- Comfortably worn on your wrist with adjustable band
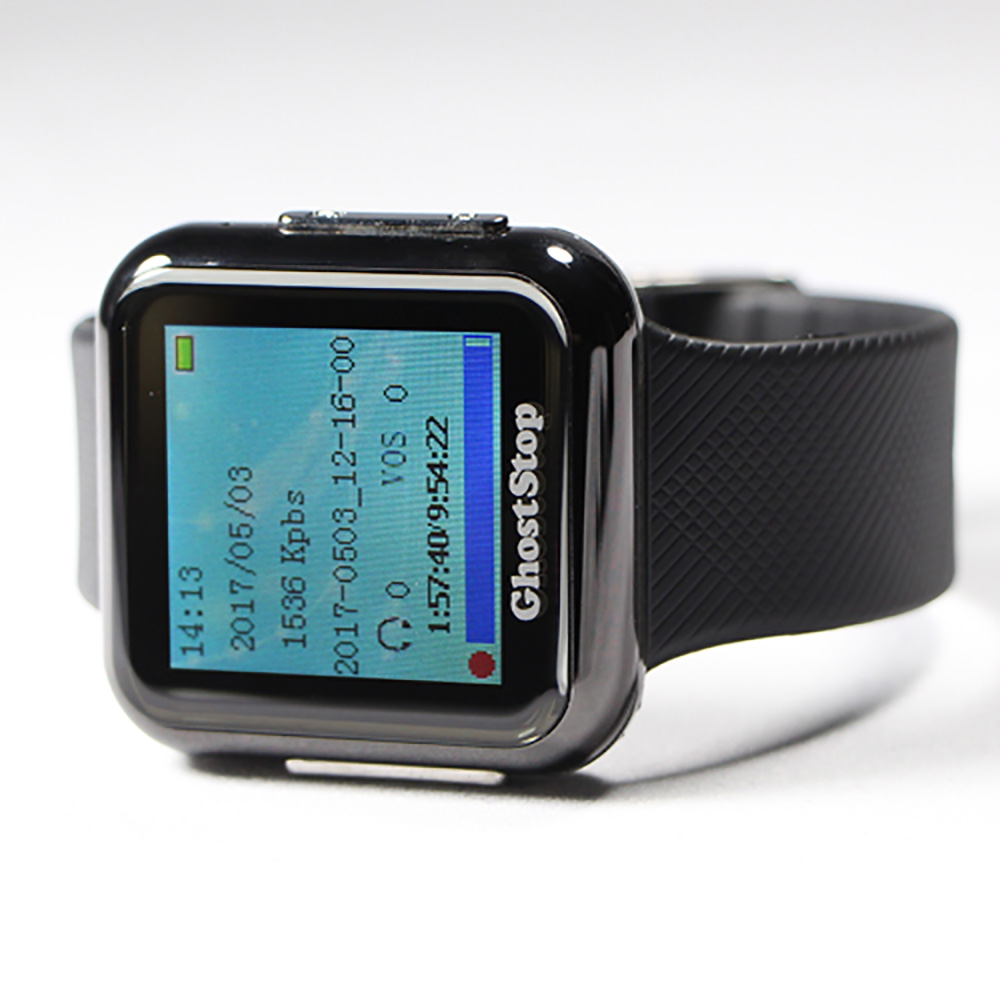
- NEW Full color screen menu
- NEW LIVE Listening of EVPs
- NEW Built-in speaker for review
- NEW Double storage space
- Lighted display for view in the dark
- 8GB storage for recordings or file transfer
- Rechargeable long-lasting battery
Wearable quality for your investigations.
Here at GhostStop, we have always suggested 'wearing' your EVP recorder whenever possible. This keeps the microphone free from fumbling sounds which are the root of much false evidence. In the past, that meant getting an armband or vest. We've taken this idea to combine audio documentation and EVP recording into a wearable product with a strategically placed, protected microphone.
It is comfortable to wear with the adjustable smooth wristband. With this you will increase audio evidence quality by eliminating the need to handle the recorder. 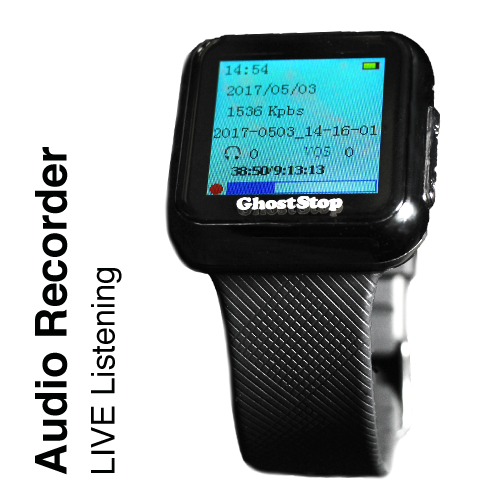 Color display that's easy to use.
The EVP Band 3 uses a new full color digital screen for simple menu navigation and status information including date and time tracking, battery life and file details.
LIVE listening of EVPs.
Now you can hear and respond to EVPs as they happen. Are you tired of hitting pause to playback a potential EVP? By doing so, you may be missing out on a gem. Now you can hear it live as it happens with no delay or missed evidence. Just plug in a set of headphones and you will hear everything... as it happens!
"Wear it. A secure recorder makes for quality recording without fumbling sounds."
Arm your whole team.
This device provides you with a way to document your entire team's activities during an investigation. We suggest EVERY member wear one. This way, upon review if you have a question about a potential vocal response you can check with each member's band to verify. Did one of your team members speak or is it an anomaly? Additionally, this also gives you the ability to potentially triangulate the location of an auditory response with multiple bands in the same room. The EVP Band is a great tool for documenting and evidence support.
"The best way to document your investigation - every minute of it."
Playback using headphones or built-in speaker.
For the sake of ease, the EVP Band 3 has a built in speaker for quick review. Just hit Play to listen to your file. You can also plug in a pair of headphones for private listening or an external speaker of your choice.
Record and transfer files easily.
This handy audio recorder also acts as a USB flash drive that utilizes integrated flash memory. This means you can use it to store and transfer just about any file you want. You can record your investigations for EVPs and document audio notes or use it as a quick way to transfer files via the USB between computers or to share files with teammates. Just plug this recorder right into a computer via USB cable, drag and drop your files and you'll be ready to review. No software installation is required.
Sample Audio: Want to hear the awsome quality of this recorder?
Click to listen (recorded directly on the EVP Band 3)
- Storage: 8GB Power lasts 9-23 hours depending on quality settings (manual includes chart)
- Storage allows for 6-285 hours of recording depending on quality settings (manual includes chart)
- Range: 20Hz to 20KHz
- Recording format: MP3
- Recording rate: options from 32Kbps-1536kbps
- Power Supply: Polymer battery, 3.7V 120mAh
- Flexible Band Fit: Adjustable notches and stretch material up to about 10"
- Weight: 33g Windows and Mac compatible
CONTENTS
Audio recorder with wristbandUSB cable
Earbuds
Manual
DIRECTIONS

1: Power On/Off
2: Mode
3: Up
4: Down
5: Headphone Jack
6: Charging/Data Port
QUICK START GUIDE
- Charge before use. (see charging instructions)
- Turn device on using POWER button (1). Hold for 2 seconds.
- Quick Recording: At the Main Menu Press and hold MODE (2) to begin a recording.
- Turn device off using POWER button (1). Hold for 2 seconds.
MODES
- Recording: Use this mode for recording investigations, interviews and EVP sessions.
- Voice: Use this mode for playback of recordings.
- Music: Play music stored on the device.
- Set: A collection of various settings for the device.
RECORDING
- On the Main Menu press UP or DOWN to choose 'Recordings' and press MODE (2) to enter into recording mode.
- Press MODE (2) to start recording "Start Voice Recording".
- While recording, press MODE (2) again to STOP and save the recording.
- While recording, press POWER (1) to pause or resume a recording in session. You must hit resume before you can stop and save the file.
- Before recording there are a few settings you can use for recordings only.
- Recording Format: adjust the recording quality bitrate
- AVR setting (Automatic Voice Recognition): Sets the sensitivity of AVR to begin recording only when it hears a voice (0-10). We HIGH SUGGEST keeping AVR OFF or '0' position so as to not miss potential evidence. While this features may be helpful for interviews and general voice notes, it is not recommended for EVP sessions because by the time the unit has a chance to begin recording, you may have missed an EVP.
- Monitor settings: headphone volume adjustment (0-24)
PLAYBACK
- On the Main Menu press UP or DOWN to choose 'Voice' and press MODE (2) to enter into playback mode.
- Press UP or DOWN to highlight a desired recording and press MODE (2) to begin playing.
- While playing press MODE (2) for additional options including:
- Volume control
- Delete file
- Delete all
- Repeat playback
- Equalizer
CHARGING THE BATTERY
- Connect the EVP Band to any USB outlet, port or computer using the included Micro USB cable to the CHARGING PORT (5). This is the same port used for charging.
- Charging time is about 1-2 hours for a full charge. Remove the device after charging will help battery longevity.
- TIP: use a wall outlet with a USB-to-AC adapter whenever possible for a faster charge. Charging through a computer or in a car may take longer as it does not supply as much power as a wall outlet.
- Battery life depends on settings:
- about 20 hours continuous recording at 32Kbps quality
- about 15 hours continuous recording at 64Kbps quality
- about 12 hours continuous recording at 1536Kbps quality
FILE TRANSFER
- Connect the EVP Band to a computer using the included Micro USB cable to the CHARGING PORT (5). This is the same port used for charging. Once your computer recognizes the connection it works just like a removable disk where you can view the files and copy them to your computer for review, editing and sharing.
PLAY MUSIC
- On the Main Menu press UP or DOWN to choose 'Music' and press MODE (2) to enter into music mode.
- Press UP or DOWN to highlight a desired music file and press MODE (2) to begin playing.
SETTINGS
- On the Main Menu press UP or DOWN to choose 'Settings' and press MODE (2) to enter into settings mode.
- While in Settings mode, press UP or DOWN to highlight a desired setting and press MODE (2)
- Power settings: power off timer adjustments
- Display settings: change device brightness, backlight, screensaver 'clock'
- Language: change device menu language
- Disk space: displays device available storage
- Format device
- Password settings: set a password to device security. Default is no password and password '0000' means NO PASSWORD required.
- Player info
- Factory Settings


